Archive for the ‘Crochet’ Category

Crochet Kindle Fire Cover Pattern

Monday, February 20th, 2012

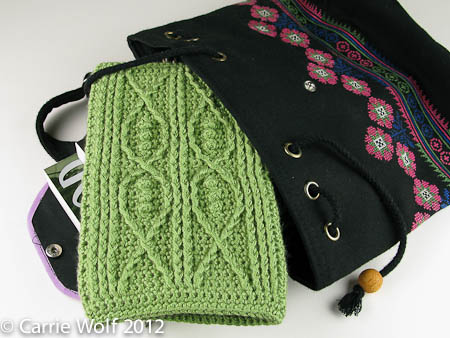
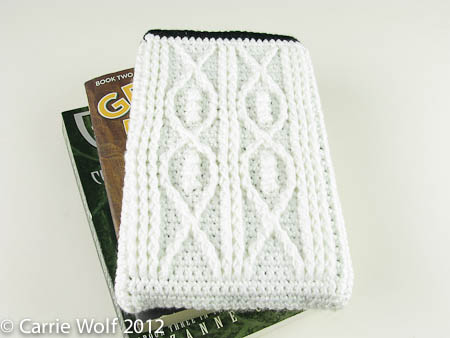
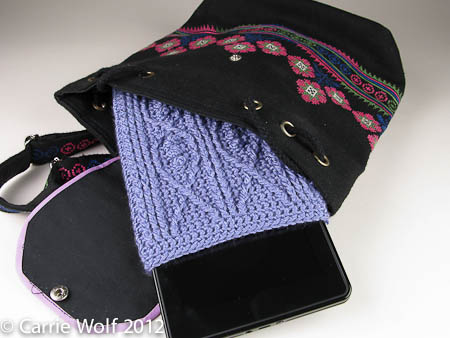
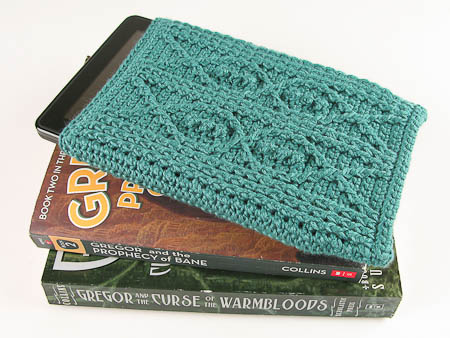
My latest crochet pattern! I love my kindle fire and needed a soft and squishy cover to protect it when I am not using it. I chose to create a cable pattern since the cabling adds an extra layer of padding as compared to normal flat crochet or knit.

Carrie Wolf - Crochet Kindle Fire Cover Pattern

You can purchase the pattern in many places:

On Ravelry:
http://www.ravelry.com/patterns/library/kindle-fire-cover-crochet-cable-fish-pattern
On Etsy:
http://www.etsy.com/listing/91906995/crochet-pattern-kindle-fire-cover

Carrie Wolf - Crochet Kindle Fire Cover Pattern

Carrie Wolf - Crochet Kindle Fire Cover Pattern

Carrie Wolf - Crochet Kindle Fire Cover Pattern

If you like crochet cables, I highly recommend this book of patterns, very affordable and tons of patterns to learn:

Pansy Bridal Bridesmaid Necklace

Tuesday, February 14th, 2012

Carrie Wolf - Crochet Pansy Bride Bridesmaid necklace

For all of you Spring brides! Available in my Etsy shop here.

Crochet Pansy Easter Bonnet PDF Pattern now available

Monday, February 13th, 2012

Carrie Wolf - Toddler Easter Crochet Bonnet with Pansy

I first made this cute little crochet Easter bonnet about 4 years ago. I was messing around making hats and made this one without writing my pattern down. I also used a pansy flower design that was not my own. So, fast forward to 2012 and I finally have created the pattern using my original pansy flower design!

You can purchase this pattern several places:

On Ravelry:
http://www.ravelry.com/patterns/library/crochet-pansy-easter-bonnet-hat
On Etsy:
http://www.etsy.com/listing/92837841/crochet-pansy-easter-bonnet-toddler-baby

Carrie Wolf - Toddler Easter Crochet Bonnet with Pansy

Interlocking Crochet Colorways

Saturday, January 28th, 2012

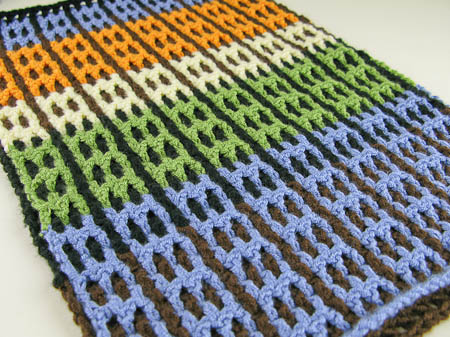
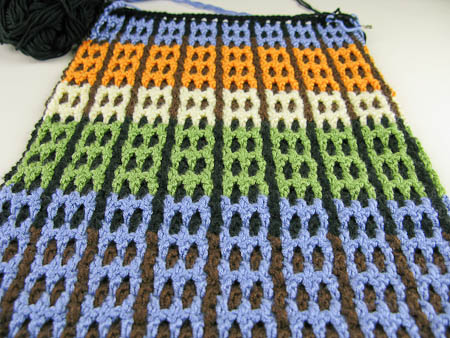
The interlocking crochet technique opens up a huge range of possibilities. The double-sided patterns are such a bonus, especially when working on blankets and scarves.

Here is a colorway that I have used in a baby blanket for our little friend Sebastian. This is a sample of the same colorway but with a different pattern.

Interlocking Crochet

This book has a great set of patterns and teaches the basics of interlocking crochet.

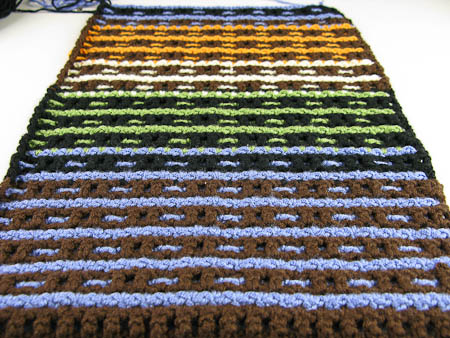
Interlocking crochet is pretty basic once you get the hang of it. You create 2 separate rows of double crochet filet, then each row is worked with a separate color through the mesh of the other color. Now, when I first bought this book, I actually threw it across the room because I could not figure out the stitches. I HIGHLY recommend that you watch these tutorials by the author before you start.

http://www.interlockingcrochet.com/video-tutorials/interlocking-crochet-video-tutorials.html

This pattern has a different patterned opposite side, some have the same pattern with just the main dominant color reversed.

Interlocking Crochet

Interlocking Crochet

Much more to come!

Crochet Kitty Cat Collar Pattern now available!

Saturday, July 23rd, 2011

My pattern for these adorable crochet kitty cat collars is available on Etsy here. The hardware for the collars is also available.

I do also sell the finished collars on Etsy here.

These are so fun to make, the Omega nylon comes in 90 different colors, so you can make a collar for every occasion!

Crochet Kitty Cat Collar Pattern

Crochet Kitty Cat Collar Pattern

How to insert a zipper and lining into a crochet purse tutorial

Friday, July 8th, 2011

I just finished this awesome slate gray crochet purse from my original pattern and now I need to add those important finishing touches of a zipper and lining. I have created this tutorial to show in detail how I did this! To see more images of purses created with this pattern see my earlier blog post.

Purchase this crochet purse pattern here!
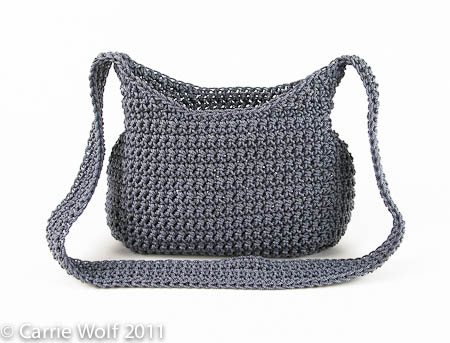
How to insert a zipper and line a crochet purse tutorial

Inserting the zipper:
Purchase a zipper that is an inch or two longer than your opening.

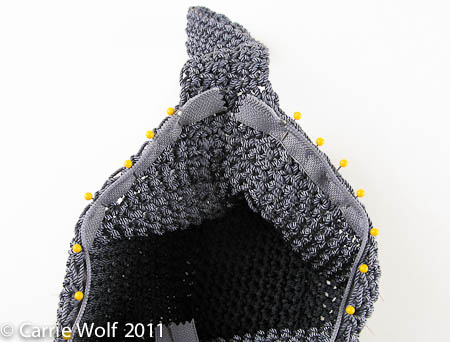
Unzip the zipper and start pinning to the top of the purse. Note how the zipper teeth are just above the last crochet stitch, not below or even. This will help to make sure your crochet does not get caught in the zipper when in use.
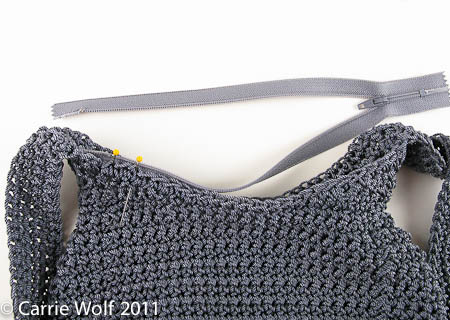
How to insert a zipper and line a crochet purse tutorial

Here is a picture looking at it from another angle:
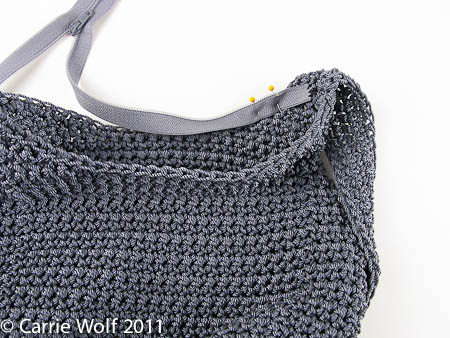
How to insert a zipper and line a crochet purse tutorial

Continue pinning the zipper to the purse all the way around:
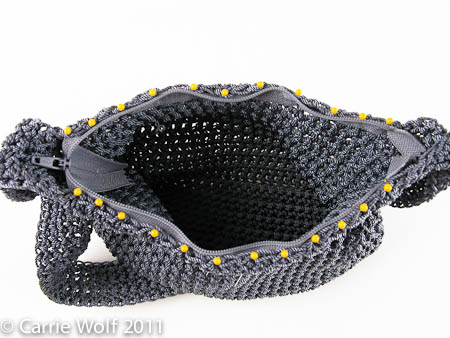
How to insert a zipper and line a crochet purse tutorial

A look at the pinning from a some different angles:
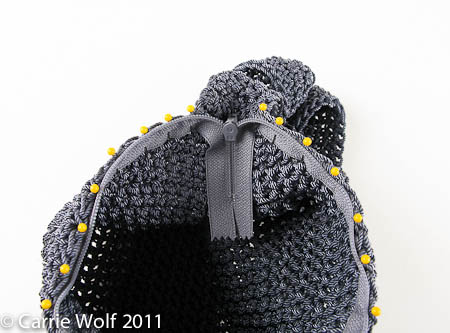
How to insert a zipper and line a crochet purse tutorial

How to insert a zipper and line a crochet purse tutorial

Hand or machine sew the zipper in place. I prefer to hand sew, thus the “organic” stitches:
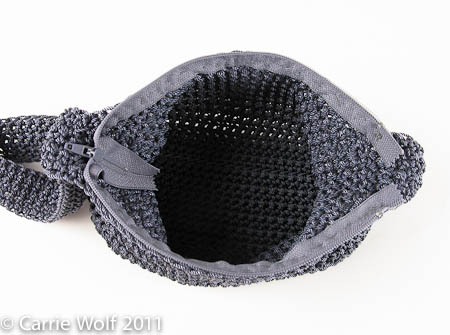
How to insert a zipper and line a crochet purse tutorial

Note how the extra inches of the zipper just float down into the corner of the purse:
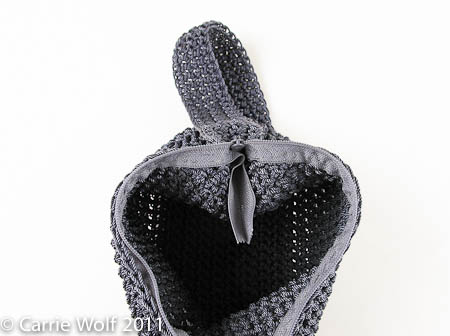
How to insert a zipper and line a crochet purse tutorial

Congratulations! You now have a fully functioning zippered purse!

Next up, I will show you how to line the purse.

Lining the purse:

Lay your purse flat and take the following measurements:
1) Height of the front panel – add 1/2 inch to your measurements
2) Width of the front panel – add 1/2 inch to your measurements
3) Height of the gusset (bottom and side piece) If you have an envelope purse, this measurement is not necessary as there is no bottom per se. – add 1/2 inch to your measurements

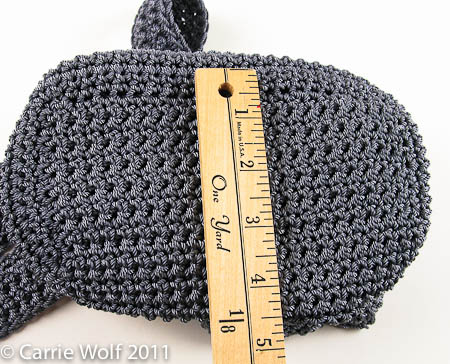
Height of front panel of this purse = 5 1/2 inches:
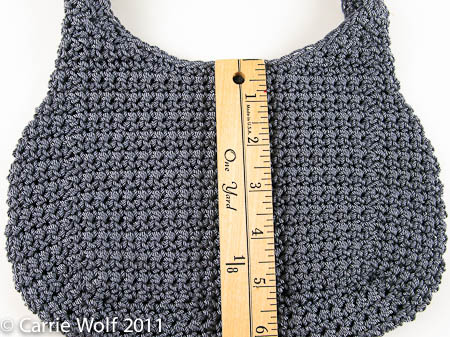
How to insert a zipper and line a crochet purse tutorial

Width of front panel of this purse = 6 1/2 inches:
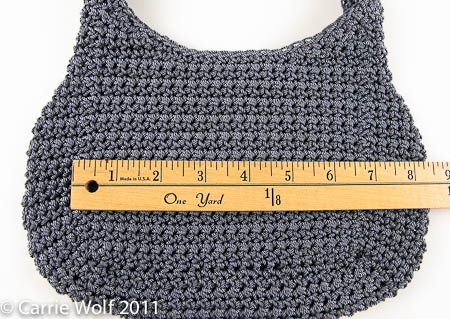
How to insert a zipper and line a crochet purse tutorial

Height of the gusset = 3 inches

How to insert a zipper and line a crochet purse tutorial

Cutting your lining fabric:

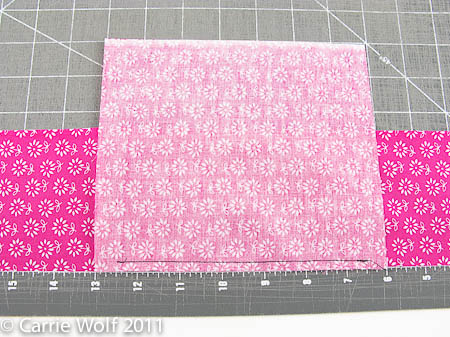
Cut 2 pieces for your front and back that are 6 x 7 inches (this is your 5 1/2 height + 1/2 seam allowance x 6 1/2 width + 1/2 in seam allowance)

Cut 1 piece for the gusset that is 3 1/2 x 19 inches (this is your 3 in height + 1/2 seam allowance x the sum of the height of the two front panels and width of the front panel including their seam allowances = 6+6+7
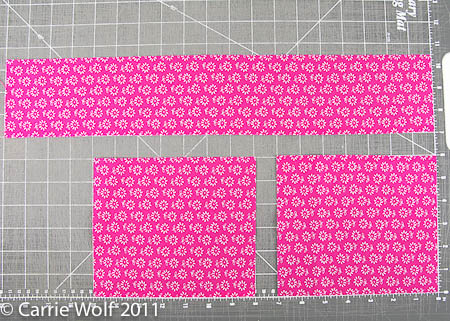
How to insert a zipper and line a crochet purse tutorial

Sewing your lining:

With right sides facing, place one of the front panels centered on the gusset panel as shown below. Place pins 1/2 inch from each side of the front panel to show you where to start and stop sewing.
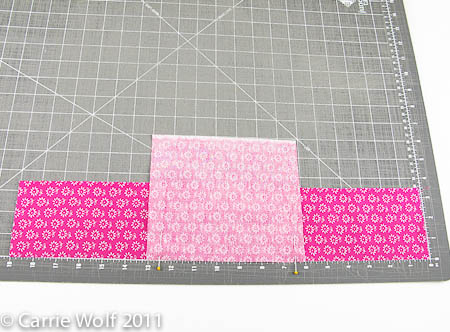
How to insert a zipper and line a crochet purse tutorial

Sew between the 2 pins.

How to insert a zipper and line a crochet purse tutorial

Pull the front piece back and place the other front piece as described above and pin and sew in place.
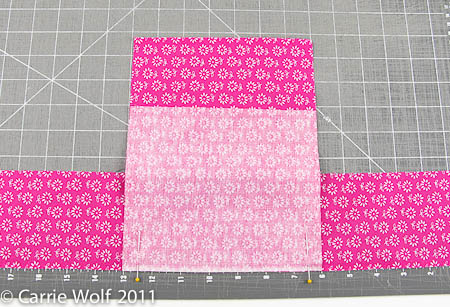
How to insert a zipper and line a crochet purse tutorial

Your lining should now look like this:
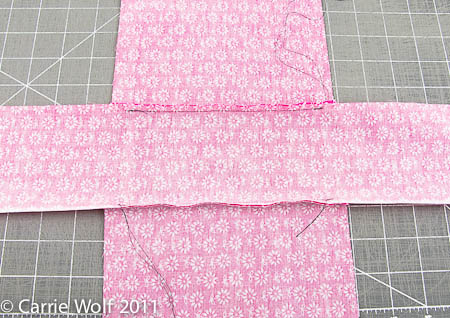
How to insert a zipper and line a crochet purse tutorial

Now, match up the top of the side of the gusset with the top of the side of one of the front panels and pin. Note how this forms a box shaped corner.
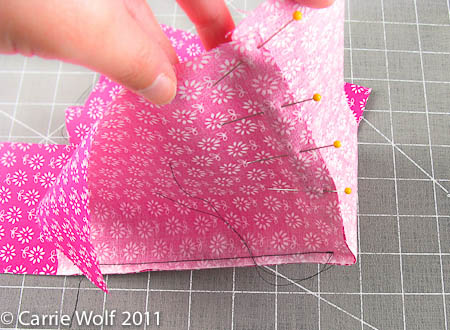
How to insert a zipper and line a crochet purse tutorial

Sew from 1/2 inch from the top down to the corner. Repeat on all 4 sides. Your lining should now look like this:
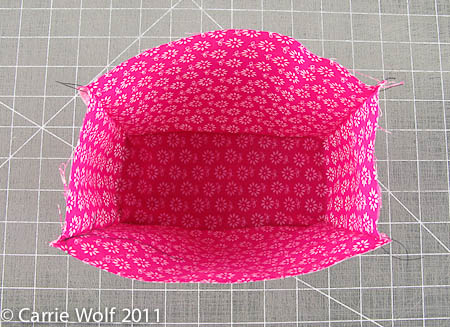
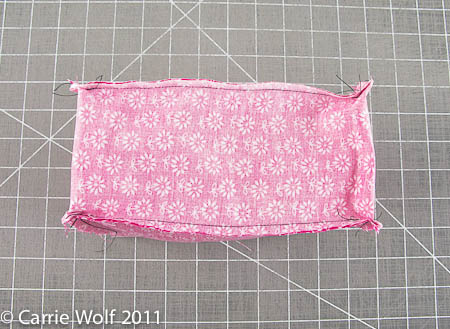
How to insert a zipper and line a crochet purse tutorial

How to insert a zipper and line a crochet purse tutorial

Test fit your lining by inserting into your purse to make sure it feels like there is more lining than the inside of the purse.

Now, since this particular purse has a gusset and the sides round out and decrease as they get towards the top where the handles attach, you will want to mimic this in the lining. Right now you have a very square lining and a rounded purse. So place some pins about 1/2 inch from the seam angling in a similar angle as the purse sides.
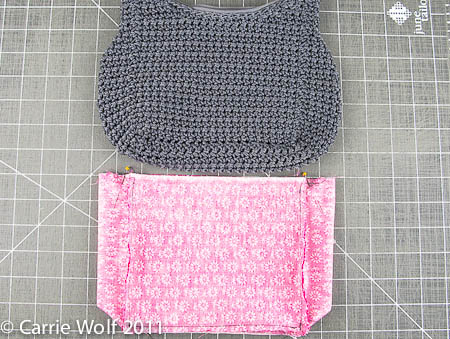
How to insert a zipper and line a crochet purse tutorial

Sew a diagonal line towards the side of the lining. Cut off the excess fabric from both sides.
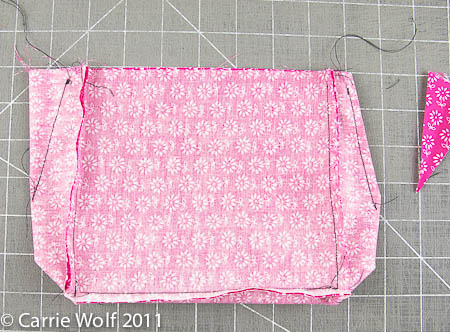
How to insert a zipper and line a crochet purse tutorial

See how much more like your purse the lining looks now! Next, press a 1/2 inch seam around the top of the lining.
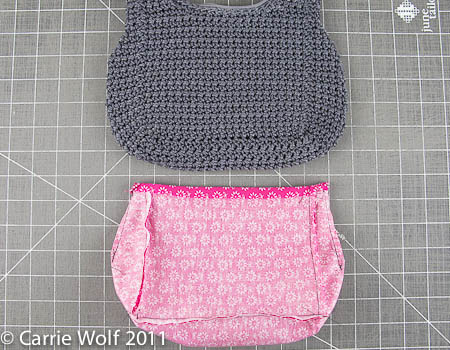
How to insert a zipper and line a crochet purse tutorial

Now place pins in the middle front of both sides of the lining and the purse.
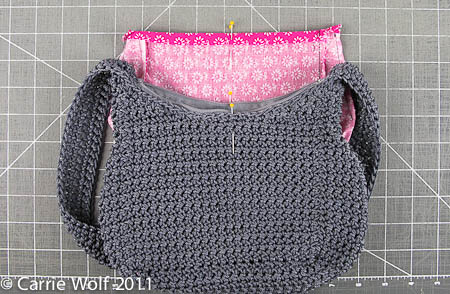
How to insert a zipper and line a crochet purse tutorial

Now insert the lining into the purse and line up the pins and re-pin the middle fronts of the lining to the middle fronts of the purse.
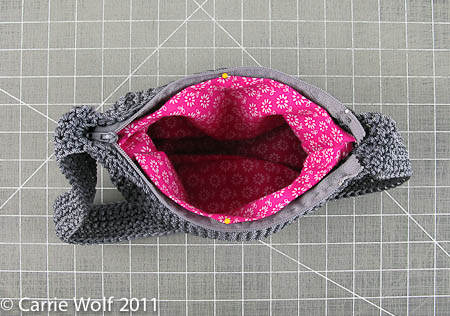
How to insert a zipper and line a crochet purse tutorial

Now pin the lining all the way around the purse.
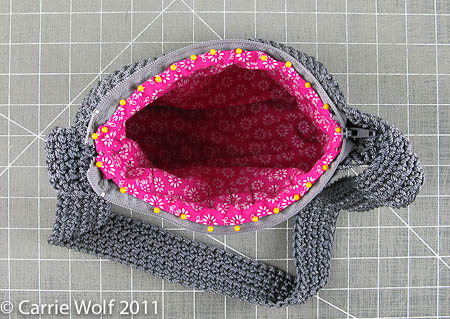
How to insert a zipper and line a crochet purse tutorial

Now hand or machine sew all the way around the purse.
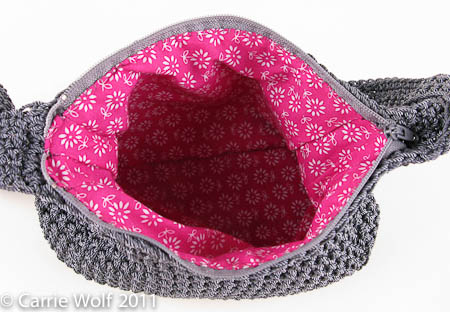
How to insert a zipper and line a crochet purse tutorial

Voila! A completely finished purse!!!
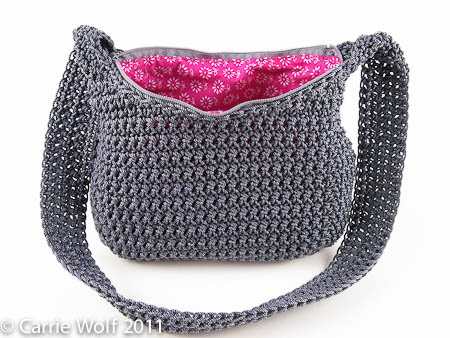
How to insert a zipper and line a crochet purse tutorial

Here are some other colors I have worked my pattern in:
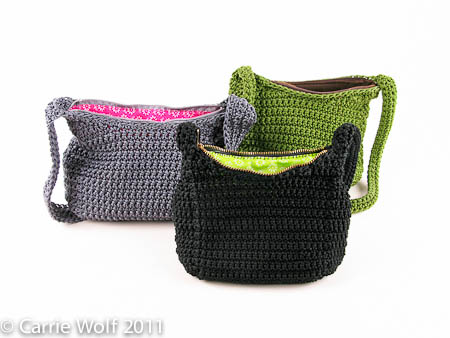
How to insert a zipper and line a crochet purse tutorial

Purchase this crochet purse pattern here!
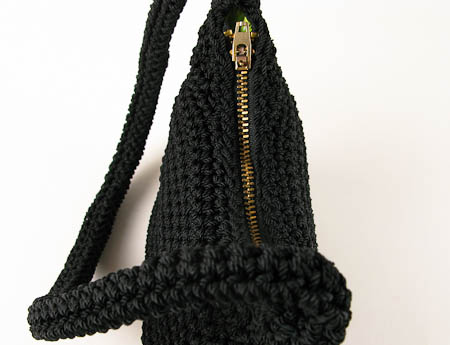
New Black Nylon Crochet Purse with Lime Green Lining

Thursday, July 7th, 2011

It has been almost 3 years since I made my first crochet purse out of this great nylon, first mentioned in my blog post here.

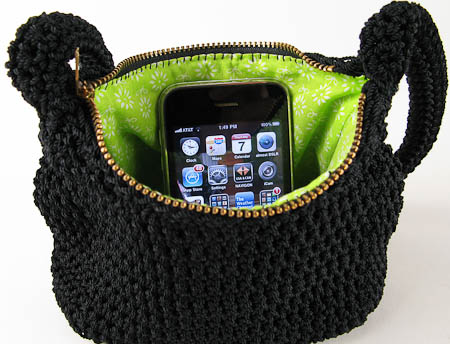
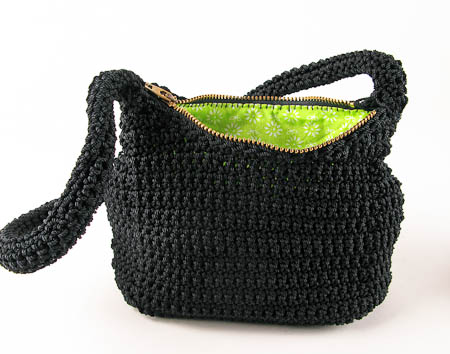
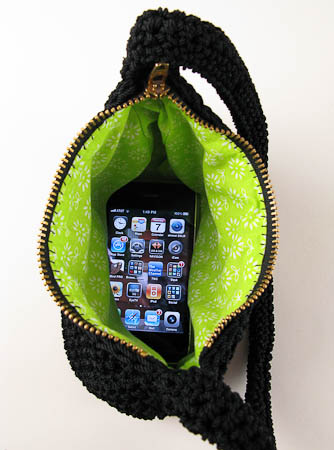
I have finally recreated this purse and created a pattern as well that I have for sale. I am thrilled with this little purse, perfect for those grab and go days. I am not one for large purses, just ones that have room enough for the essentials, wallet, phone and keys. This design has a deceptively large amount of space inside due to the gusseted sides.

Purchase this crochet purse pattern here!
New Black Nylon Crochet Purse with Lime Green Lining

New Black Nylon Crochet Purse with Lime Green Lining

New Black Nylon Crochet Purse with Lime Green Lining

New Black Nylon Crochet Purse with Lime Green Lining

Pottery and Crochet Lace Necklaces

Wednesday, July 6th, 2011

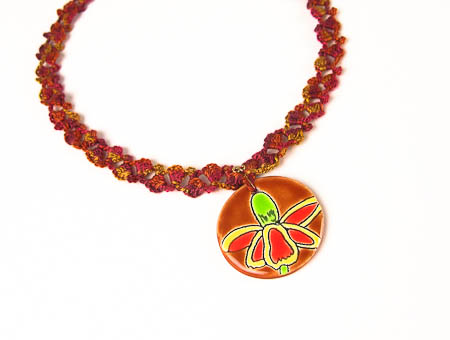
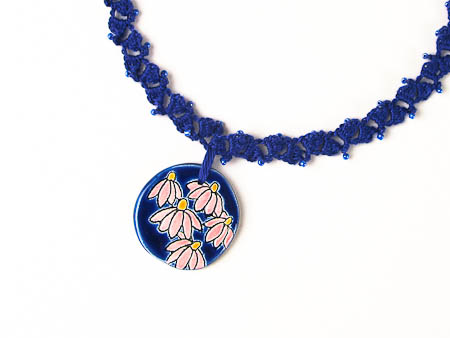
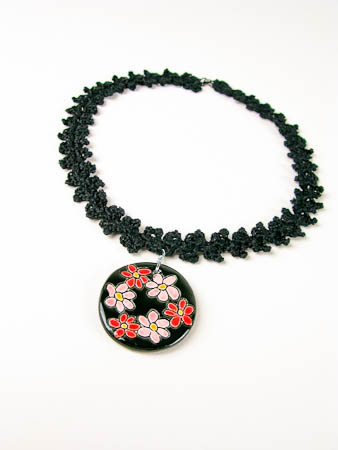
I am enjoying pairing my love of crochet with pottery with these new pottery art crochet lace necklaces!

Available here in our Etsy shop:

Pottery and Crochet Lace Necklaces

Pottery and Crochet Lace Necklaces

Pottery and Crochet Lace Necklaces

Trillium Crochet Fiber Art Flower Bouquet

Sunday, June 12th, 2011

Trillium Crochet Fiber Art Flower Bouquet

I have been reading up on Botanical Art and Illustration lately in an effort to take my crochet wildflower designs to a new level, how inspiring! I bought these 2 books and highly recommend:

I am intrigued by the beauty and minimalism of ikebana flower arrangements and was inspired to create this arrangement in one of our art glass bud vases. The colors in the glass played off the purple and burgundy trillium so well. The vase sold the day after we took this picture so I am happy we got this shot!

We have been working all summer at WolfArtGlass to deepen the color profiles of our art glass and this vase is a great example of layering multiple colors in the same family, opaque and transparent, to create a very deep rich color.

Trillium Crochet Fiber Art Flower Bouquet

Rain Lily – Crochet Fiber Art

Sunday, May 15th, 2011

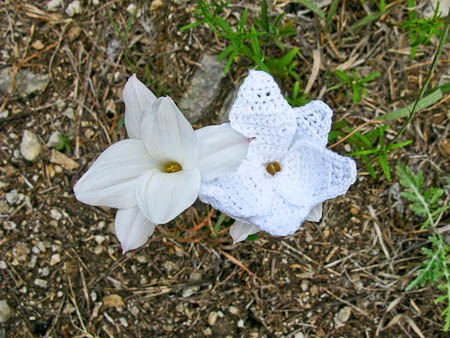
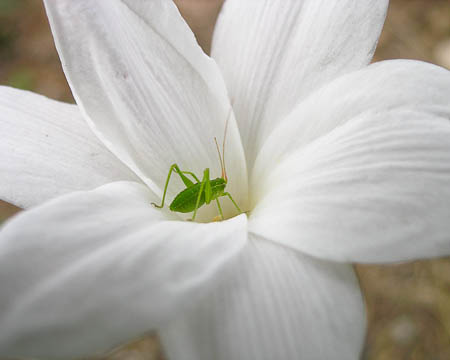
You can tell that recently we finally had a good rain after months without because the rain lilies are everywhere! I love the resiliency of these amazing wildflowers. Here is my crochet Rain Lily nestled among its real counterparts: Oh and yeah, if you look real close at this first picture, you will see my arch enemy poison ivy mere inches from the flowers I was photographing…..

Rain Lily - Crochet Fiber Art

Rain Lily - Crochet Fiber Art

Rain Lily - Crochet Fiber Art

Rain Lily - Crochet Fiber Art

WolfArtGlass and ModernNeedlepoint collaboration

Sunday, October 3rd, 2010

We have been working on pairings of our blown glass and crochet wildflowers – perfect for a wedding table, event table or kitchen table!

These are blown art glass Canteen Vases paired with posies of crochet Windflowers and Black Foot Daisies.

WolfArtGlass ModernNeedlepoint 10-3-10

For sale here!

WolfArtGlass ModernNeedlepoint 10-3-10

For sale here!

Some pictures from around the house this week

Wednesday, September 22nd, 2010

WolfArtGlass ModernNeedlepoint 9-22-10

WolfArtGlass ModernNeedlepoint 9-22-10

WolfArtGlass ModernNeedlepoint 9-22-10

Crochet Mexican Hats

Sunday, July 25th, 2010

Crochet WildFlowers

Getting ready to make some Purple Coneflower Crochet Wildflowers

Sunday, July 25th, 2010

Crochet WildFlowers

Crochet Lap Quilt for Gram

Sunday, June 6th, 2010

I have been working on this lap quilt for Gram – almost done!

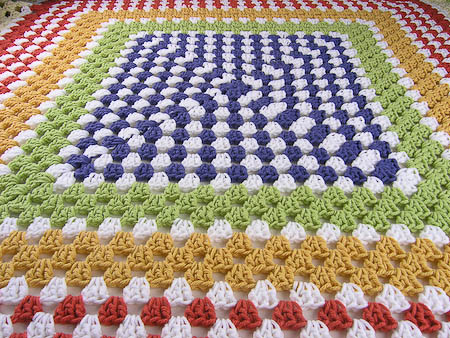
Crochet Granny Square Afghan

Crochet Wildflower – Nerve Ray

Sunday, May 16th, 2010

My latest crochet wildflower design – the Nerve Ray!

For sale here in my Etsy shop!

Crochet Wildflower Nerve Ray

Mixed Media Fiber Art – Crochet, needlepoint, colored pencil wildflower

Sunday, May 16th, 2010

I have been playing with mixed media and my crochet wildflowers by adding a needlepoint butterfly and some colored pencil Mexican Hats.

Crochet Wildflowers Needlepoint Butterfly Colored Pencil

Crochet Wildflowers – Mexican Hats and Greenthread

Saturday, May 1st, 2010

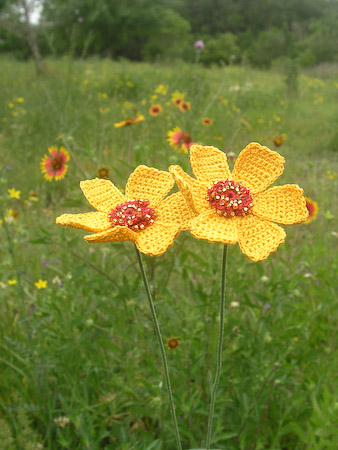
This Spring has been an amazing one for our wildflowers. Dean has been taking so many pictures and video that I was inspired to create these crochet versions of two of my favorites – the Mexican Hat and Greenthread. I have some other designs in the works!

Crochet Wildflowers

Crochet Wildflowers

Crochet Wildflowers

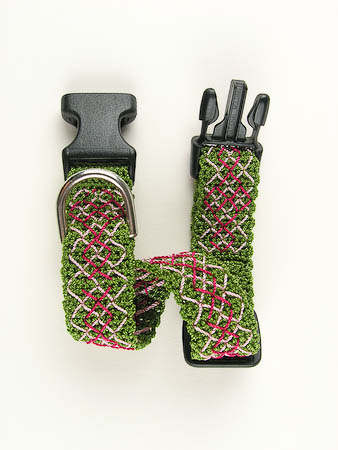
Crochet Dog Collar – Green Pink and Fuschia Argyle

Wednesday, April 7th, 2010

Argyle Crochet Dog Collar

Buy it here!

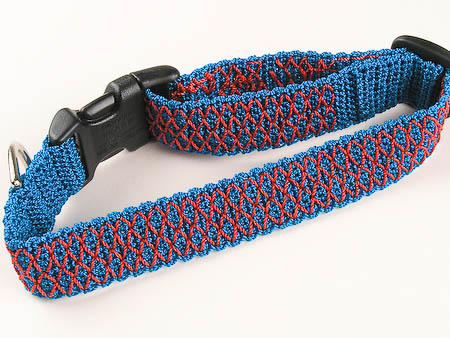
New smocked crochet dog collar design

Sunday, April 4th, 2010

Smocked Crochet Dog Collar

Buy it here!