Spring 2017 at Wolf Art Glass
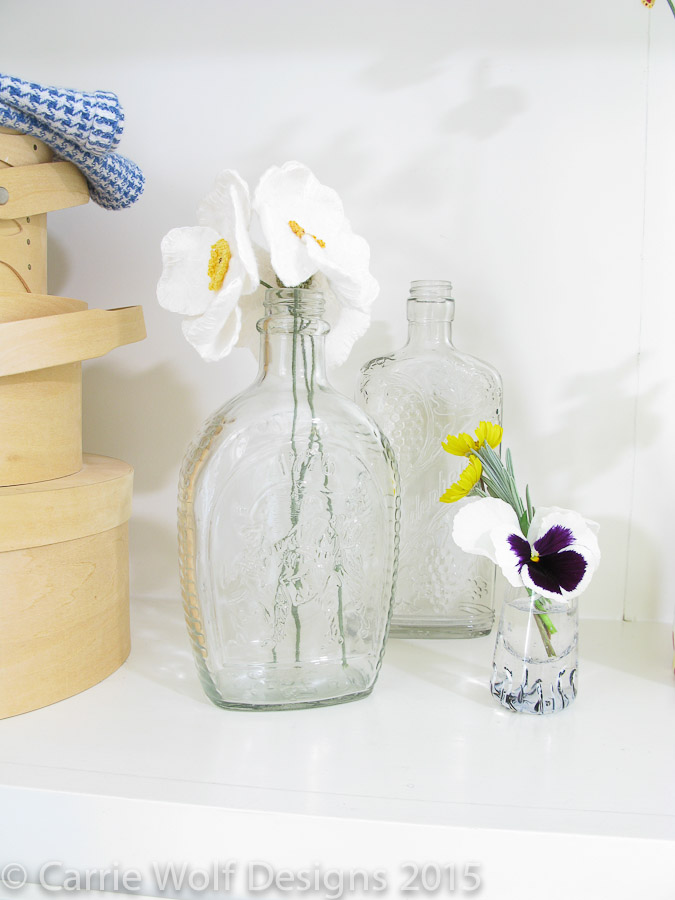
March 21st, 2017See our blown glass poppies in our Etsy shop! Wolf Art Glass on Etsy

See our blown glass poppies in our Etsy shop! Wolf Art Glass on Etsy
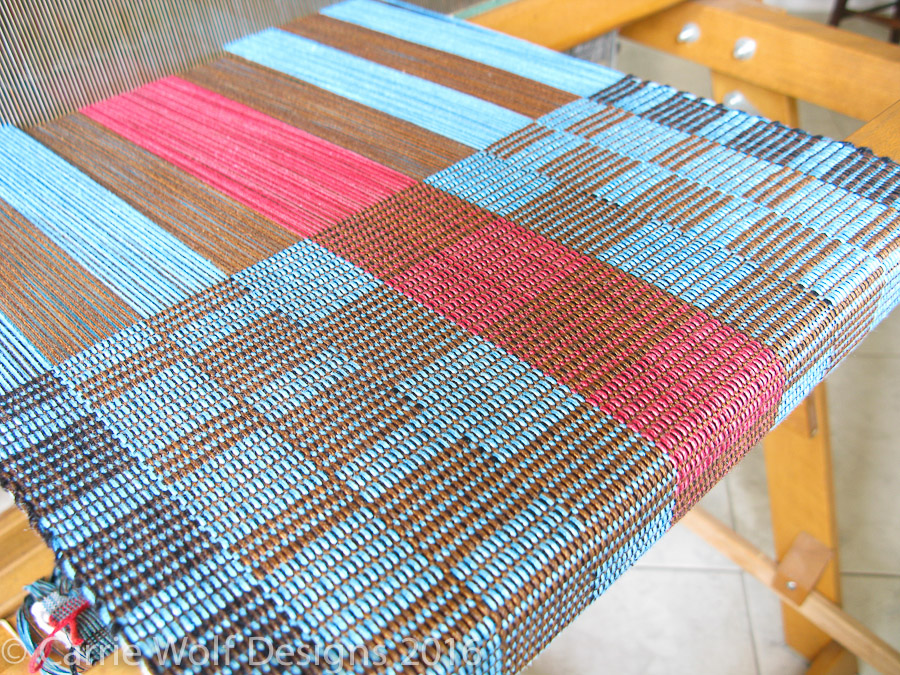
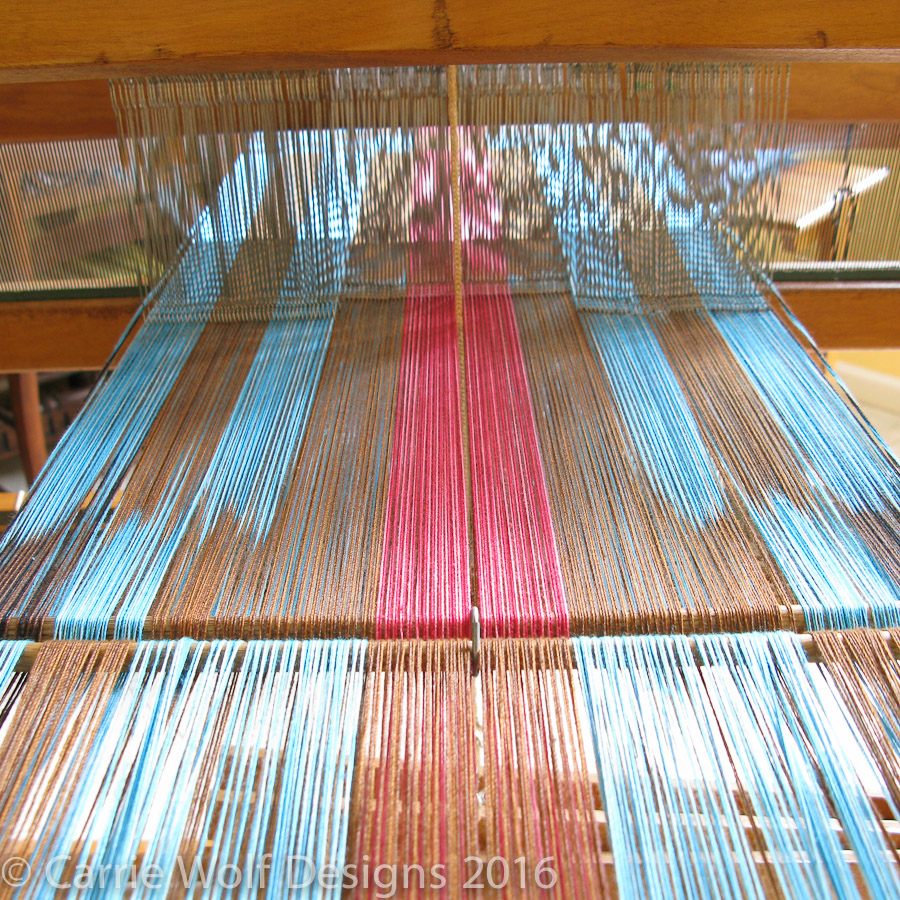
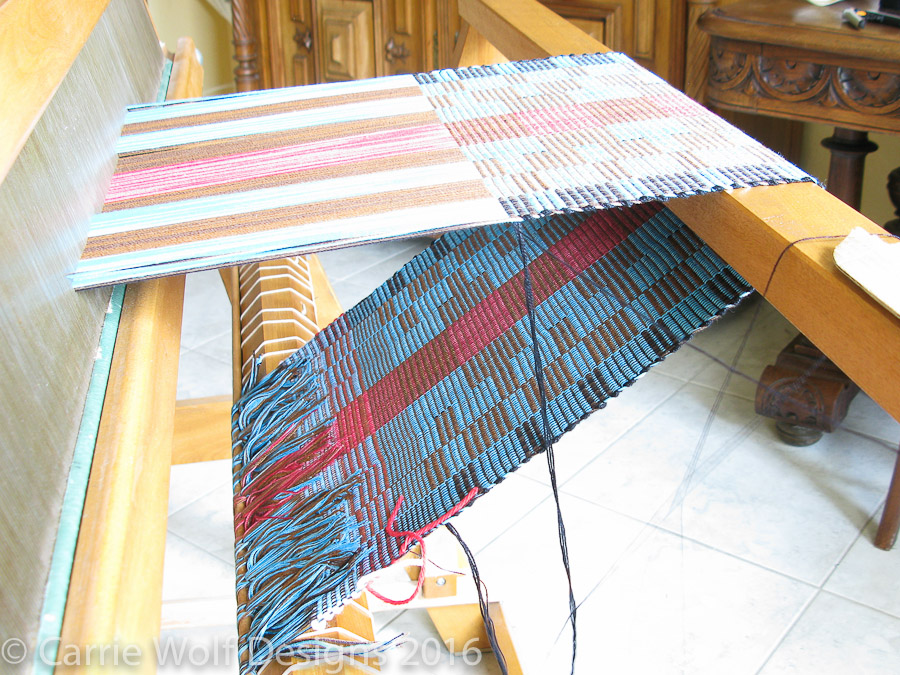
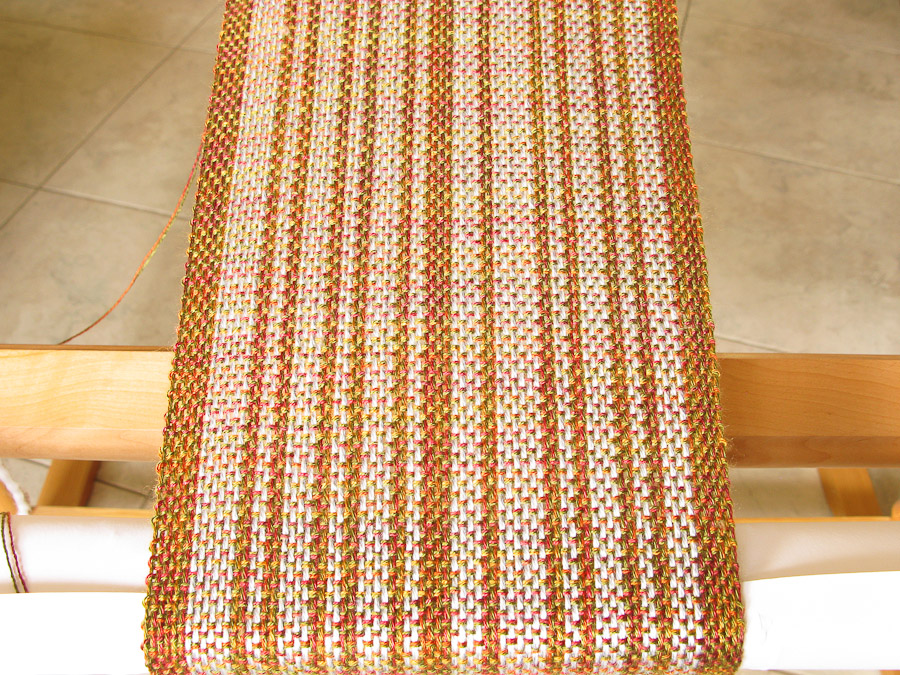
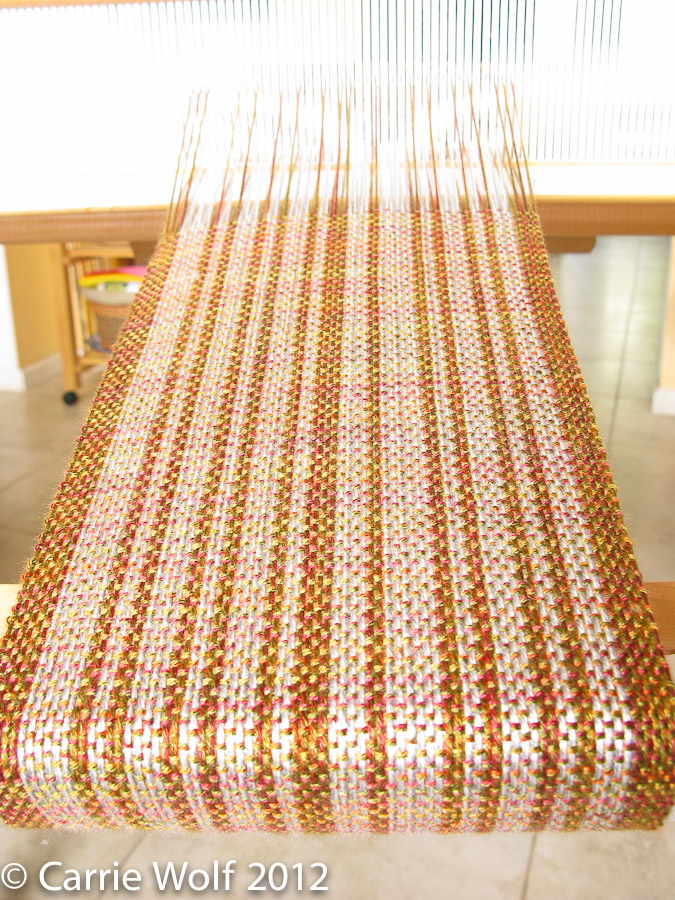
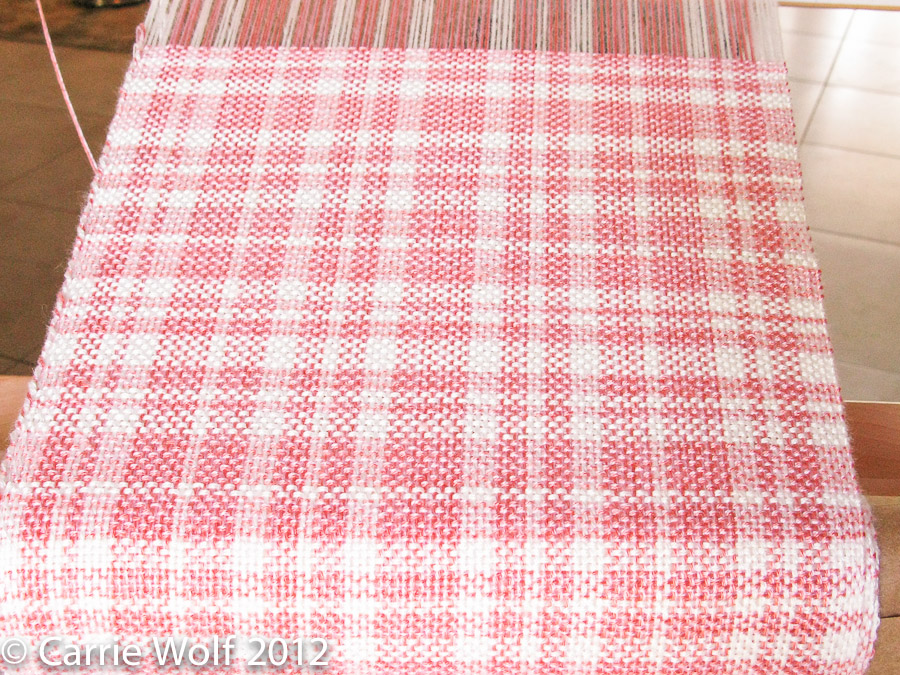
Another rep runner in progress!
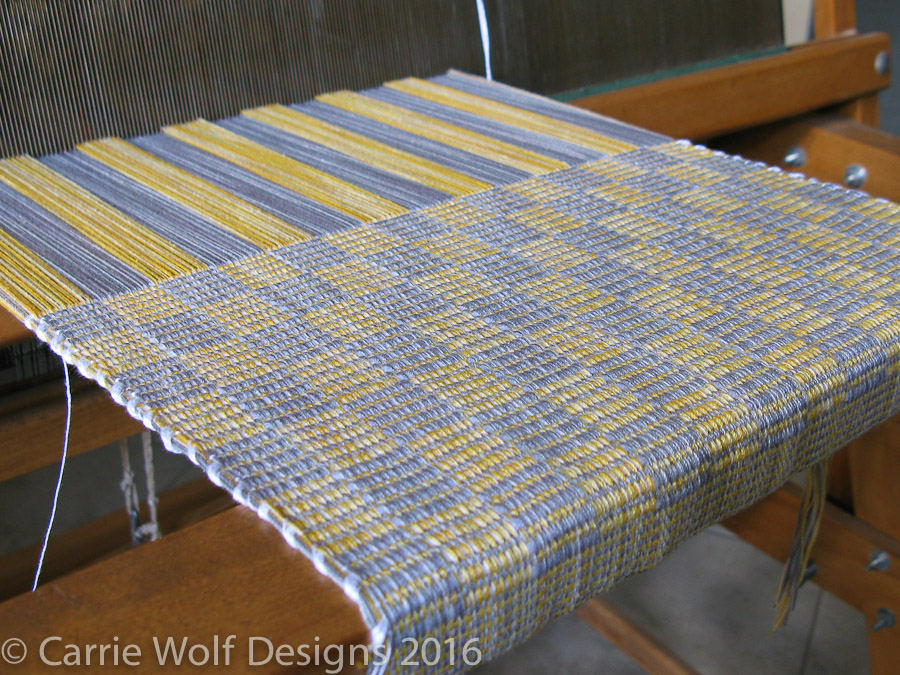

Off to a good weaving start for 2016! This is my 2nd rep weave attempt. I am very happy with this runner so far!
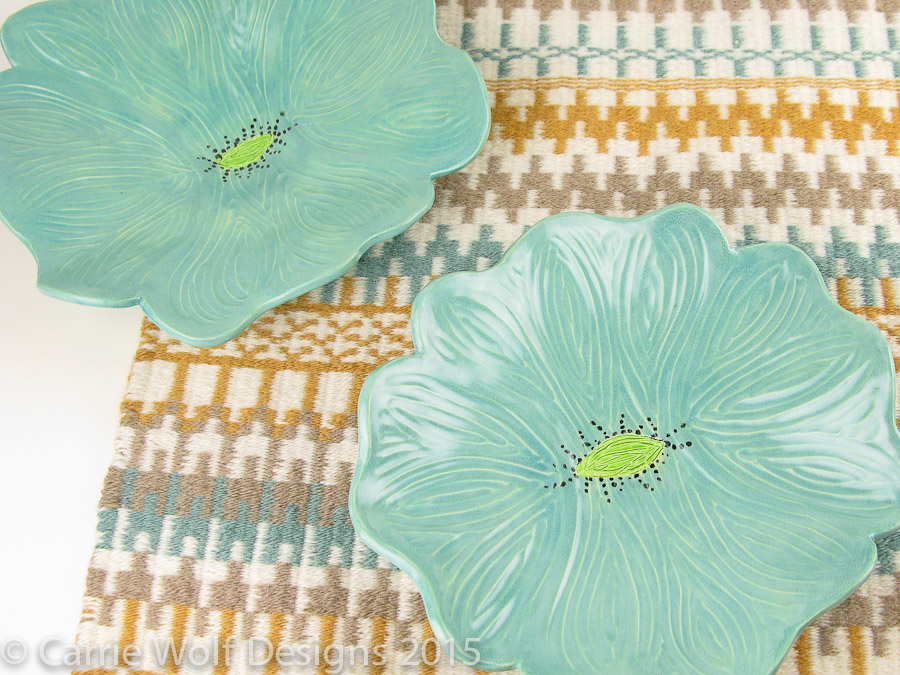
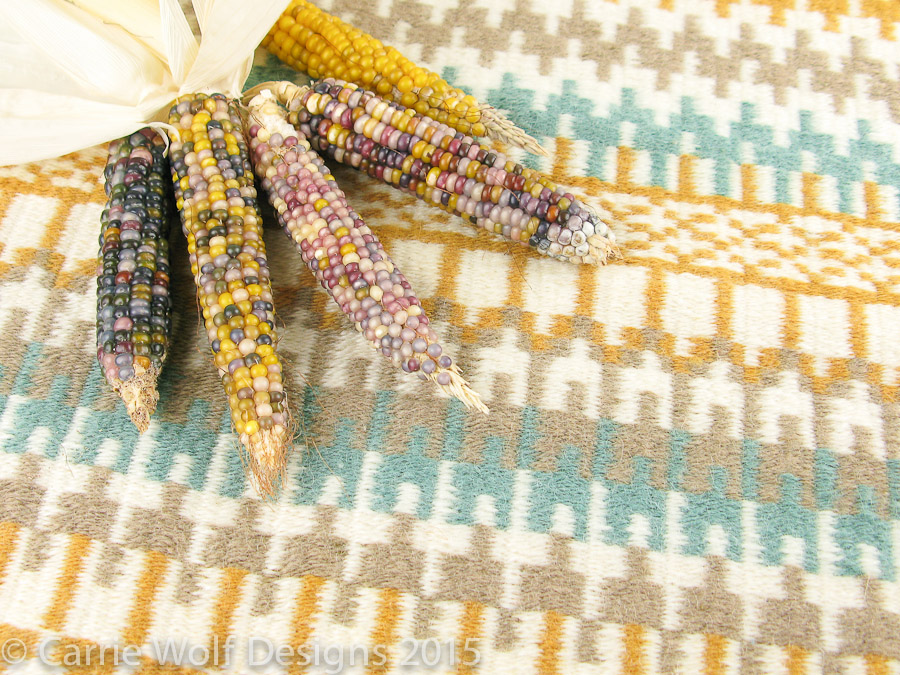
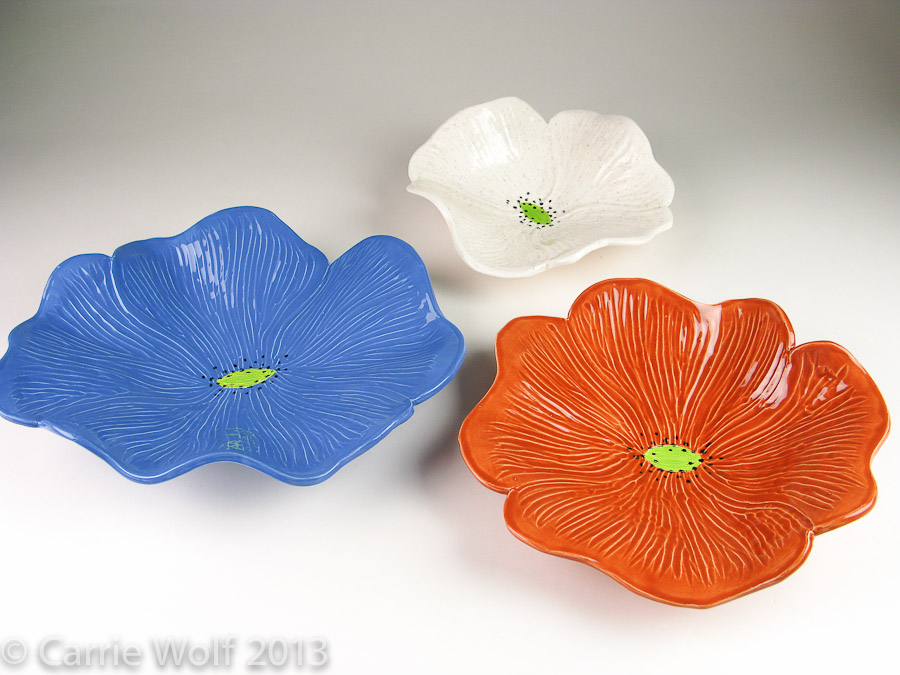
Our summer has been quite dry and all of our native grasses have turned into shades of gold, rust and cream with hints of their former green. My krokbragd weaving, summer corn and seafoam ceramic poppies capture what our Texas summer looks like!
You can purchase the ceramic poppies for a wall art collection in our Etsy shop here:Wolf Art Glass on Etsy.
All of our in-stock & ready to ship wall art is available in our Etsy shop here:
We use professional hanging hardware for all our wall pieces. Please take a look at this page for details:
http://www.wolfartglass.com/wall-art-hardware
We can also craft additional and custom pieces for you.
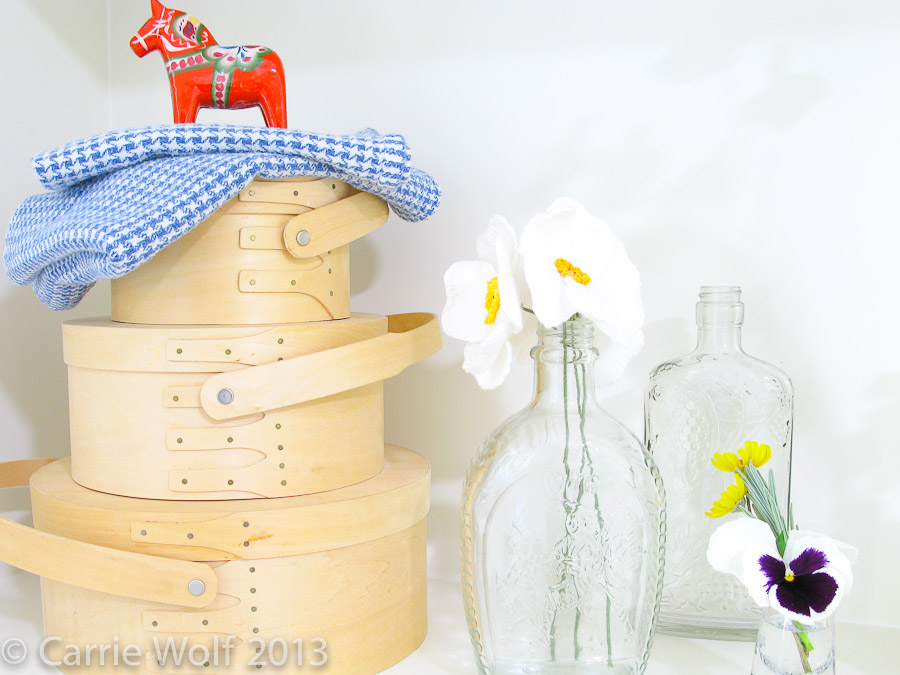
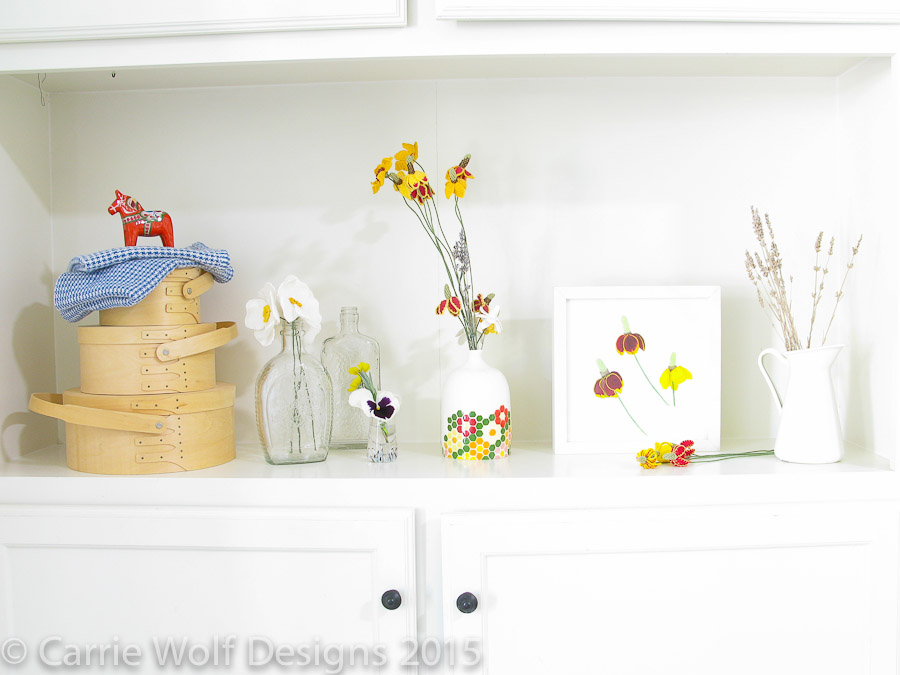
Growing up in Minnesota has greatly influenced my design tastes, and now living in Texas, I find myself longing for the regular sightings of Dala horses and cool white interiors.
This has inspired me to start the process of making over my own home with a more Scandinavian feel. We are painting our mushroom colored walls an almost pure white. It feels amazing!
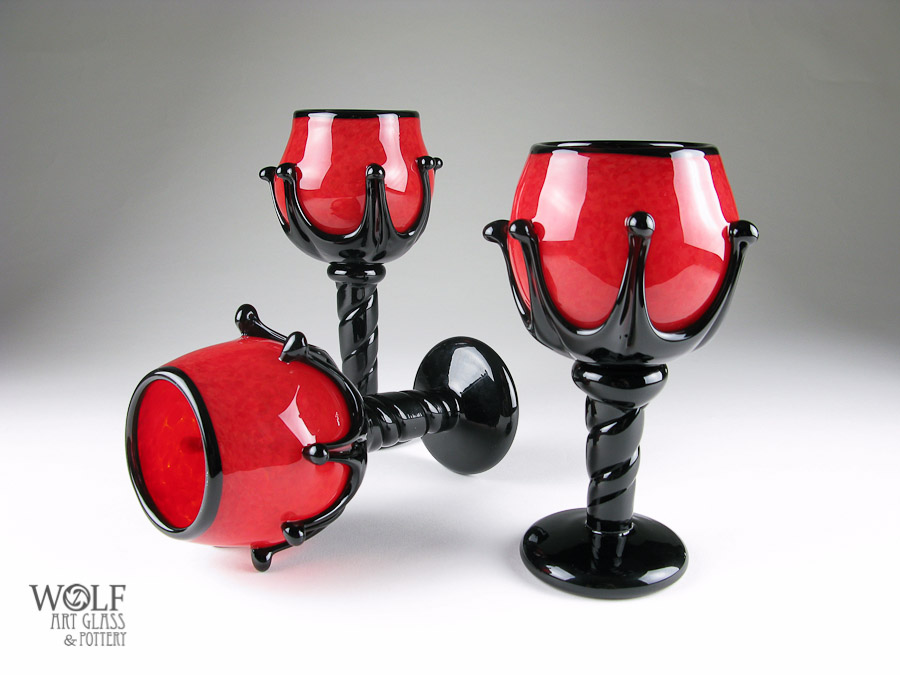

Buy them here in our Etsy shop!
https://www.etsy.com/listing/40803342/vlads-rosebud-goblet-blown-wine-glass
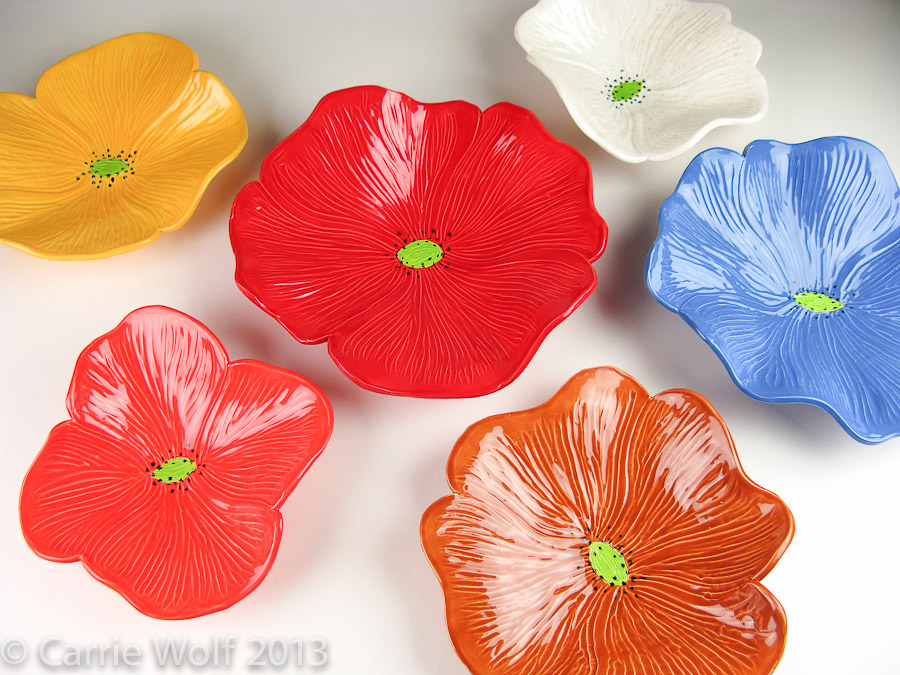
I have been busy getting back into making these gorgeous ceramic poppies! We add wall mounting hardware to each piece so they can be hung in eye popping collections on the wall.
All of these beauties are available for purchase at Wolf Art Glass on Etsy.

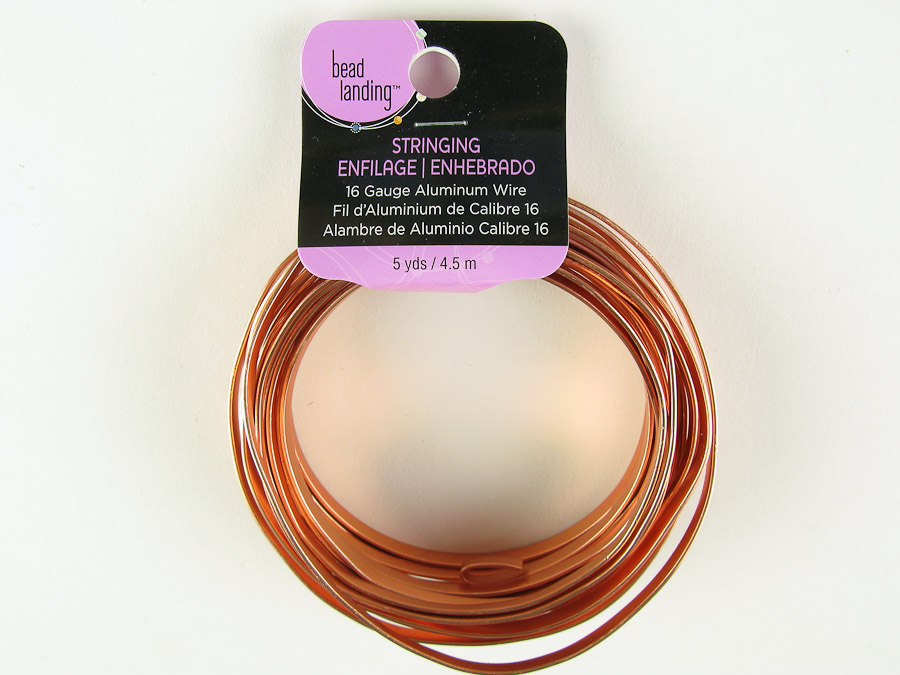
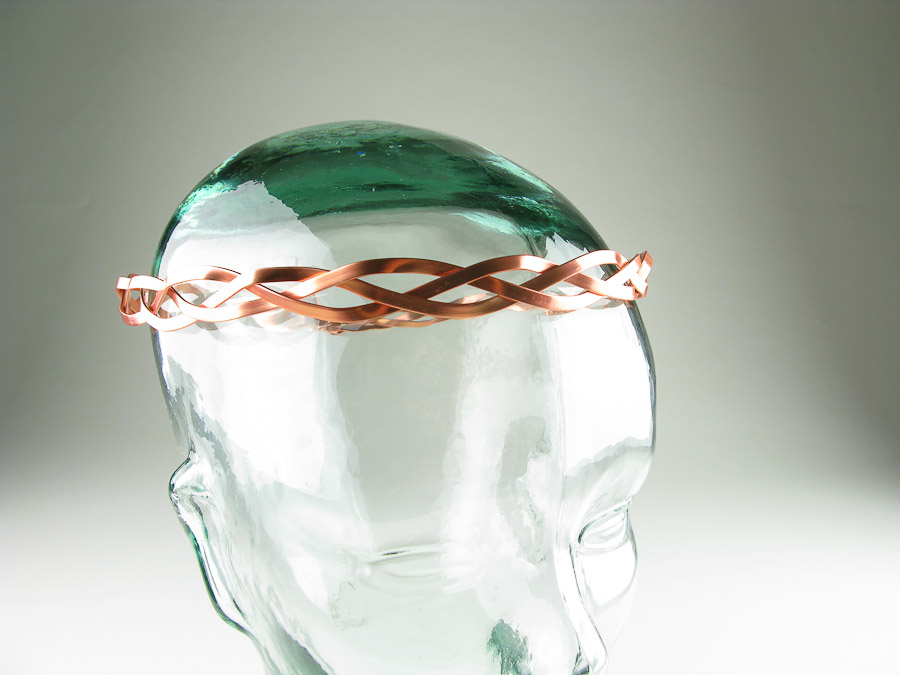
I purchased this great very pliable copper colored aluminum flat wire at Michael’s. It is $5.99 for 5 yards. It should be in the section for beading and jewelry supplies.
Now measure the circumference of your head using a flexible measuring tape or a non-stretchable piece of string and add 4 inches to that number. My head is 22 inches, so I will cut 3 pieces of wire 26 inches long.
Note: the surface of this aluminum wire can mar easily and remove the copper color, so use pliers that have rubber padding or a piece of paper towel to cover the wire before bending.
Next, bend about 3/4 inch on the end of each piece and hook them together to stabilize them for braiding.

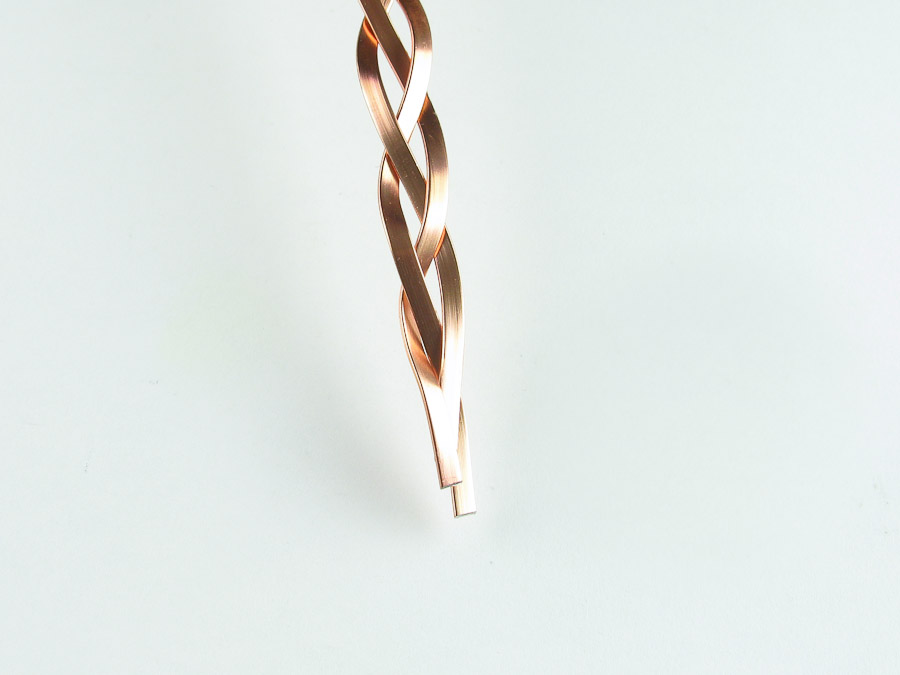
Clamp this end to a book, table or put it in a vise. Used a soft cloth or paper towel to protect the wire and the clamping surface. Now slowly start to braid. The braiding action is more like easing the wire from side to side and less like braiding a more pliable medium like hair or yarn.
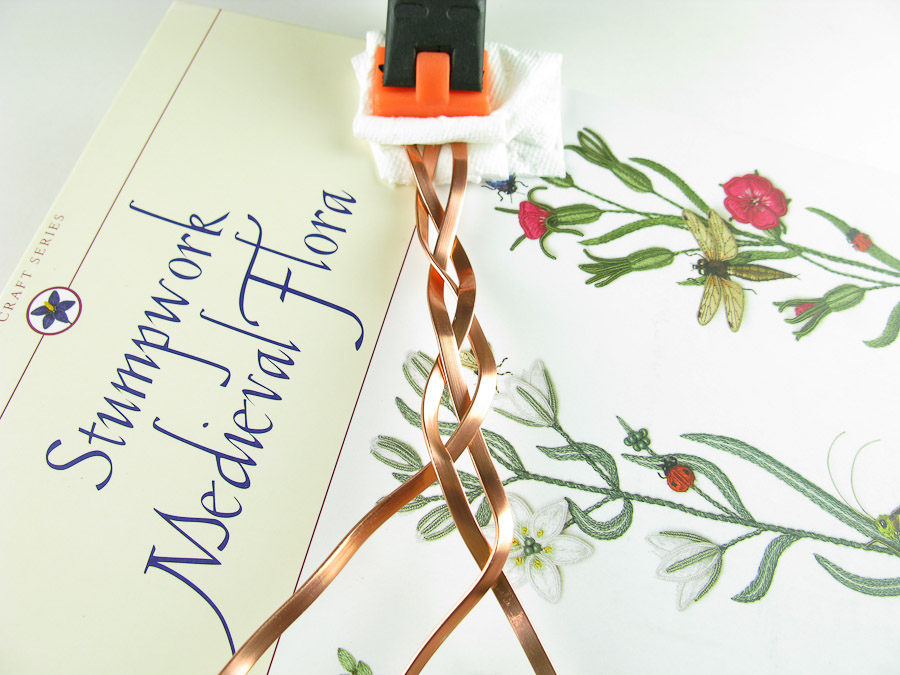
Your end will look like this:
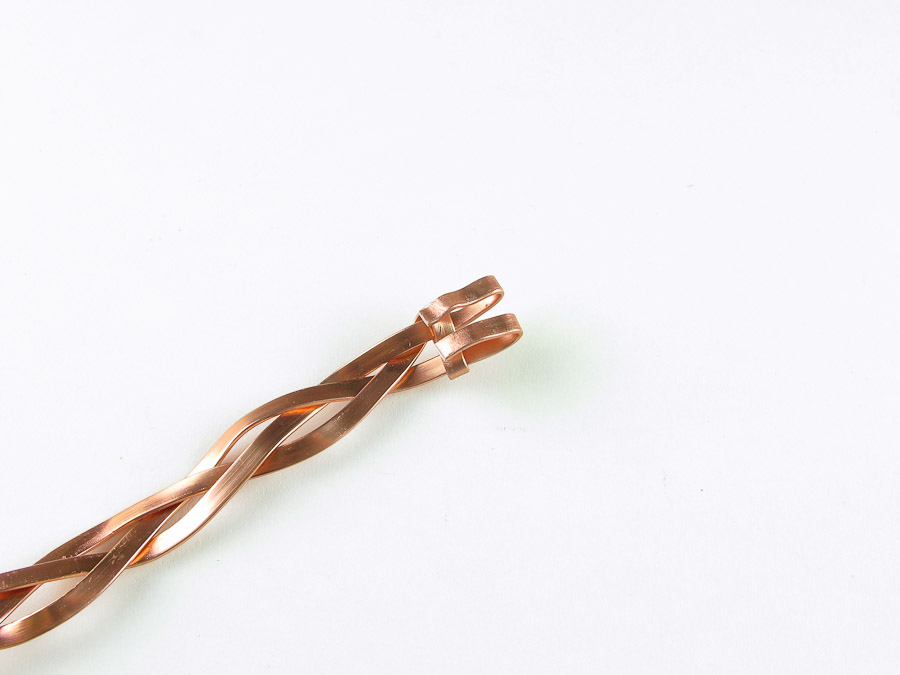
Now bend one of the ends around the other two and crimp flat.

Next bend the other 2 ends back to form a hook.
Take the other end and fold all 3 wires back on themselves.

Cut a 1-2 inch piece of wire and form a flat ring. Slide this ring over the ends and press the ends to hold the ring in place.

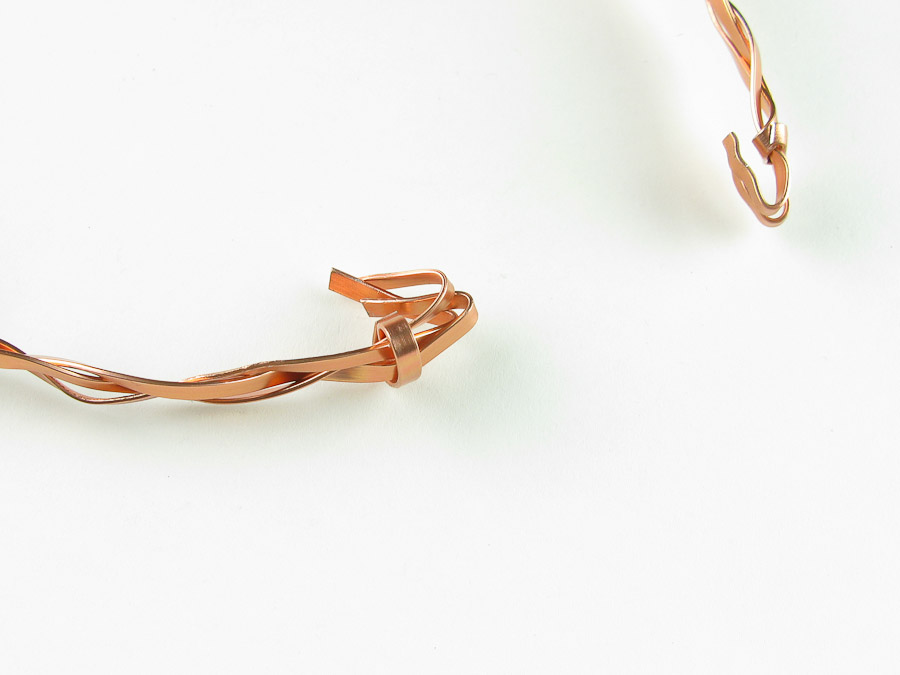
The hooks should slide into the ring to hold it fast.
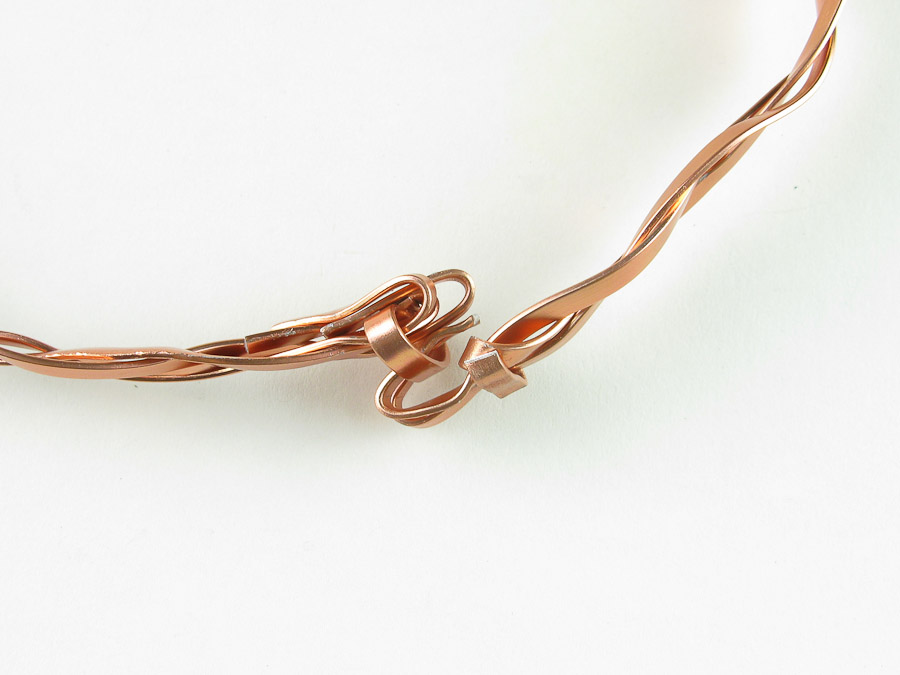
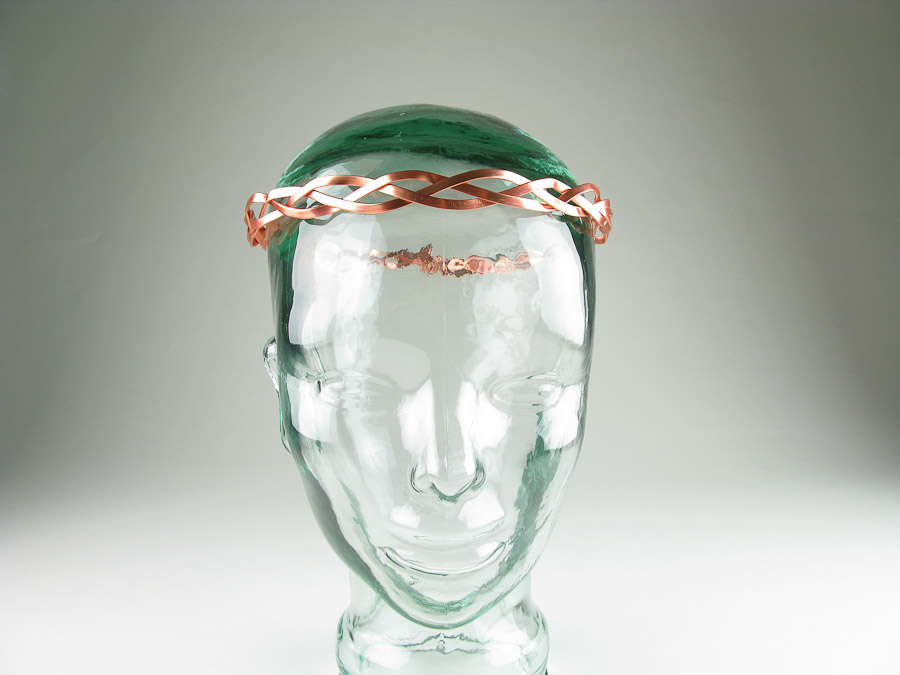
Here is the finished circlet!
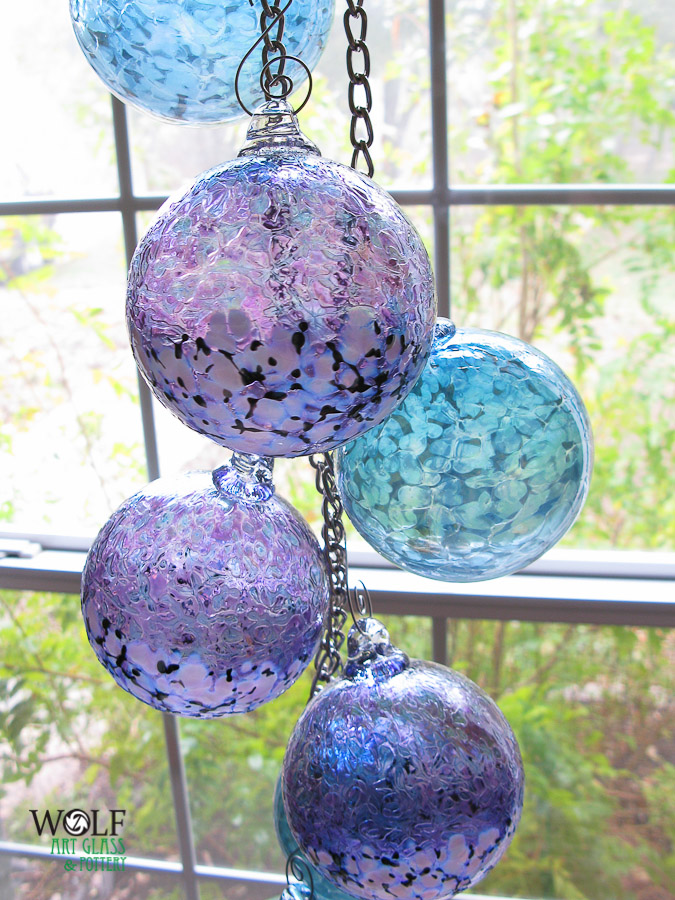
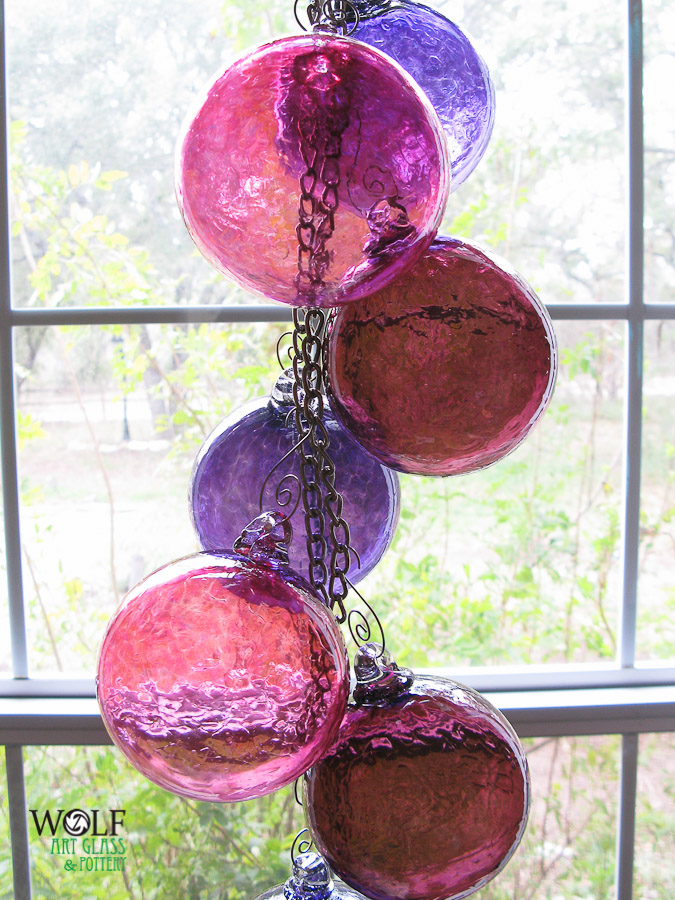
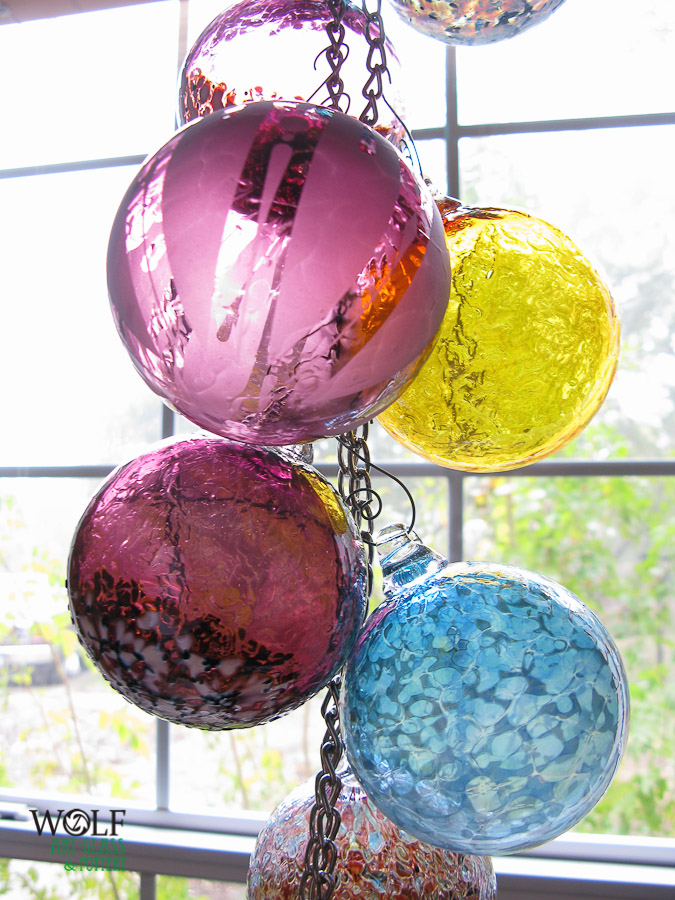
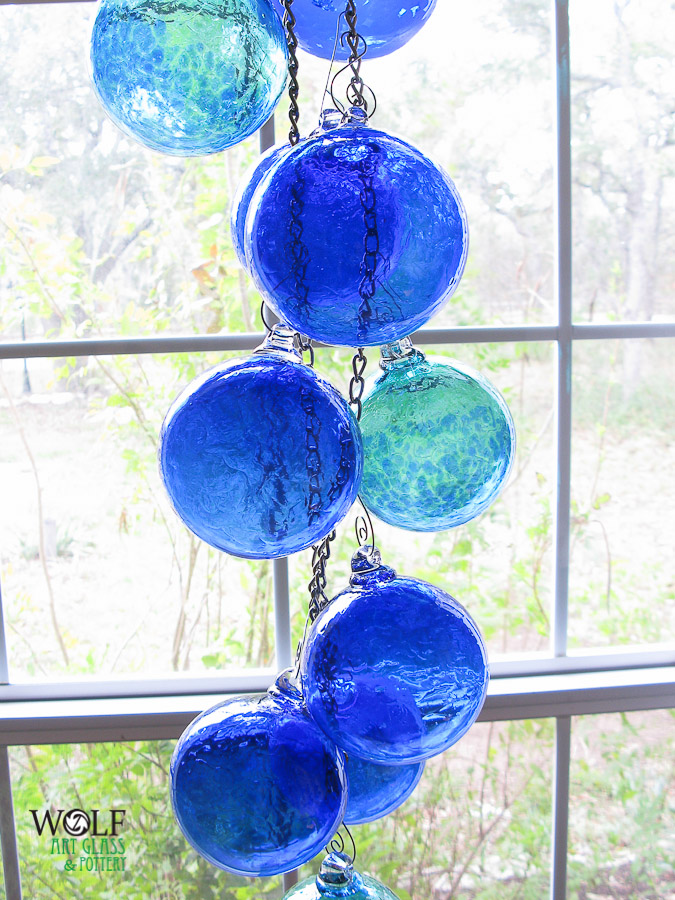
We are finally having some wonderful overcast Texas winter days and the lighting is amazing. A perfect weekend to take some beauty shots of our blown glass ornaments!
All of these beauties are available for purchase at Wolf Art Glass on Etsy.


I was weaving a blue and cream striped scarf the other day and I liked how the little horizontal blue weft lines crossed over the cream warp threads and it reminded me of lovely birch trees. So here is my first version of a silver birch tree scarf, this one in gorgeous fall colors. This pattern woven wider would make a great table runner and after watching PBS’s Craft in America Episode V111 last night all about threads, I may have to start cutting up my weaving to make into little art quilts.
The finished scarf is available in my Etsy shop here!
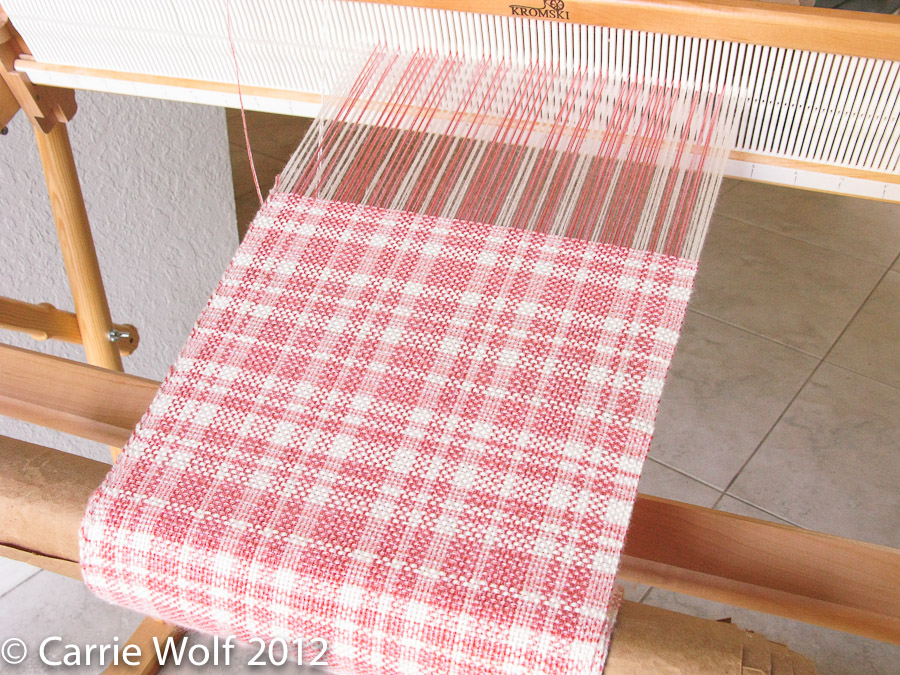
As usual I am testing the limits of my threads to see how fine of a weave I can achieve on my 12 dent heddle. I wish they made finer heddles for rigid heddle looms, at least a 14 dent. I should have doubled up the warp threads on this one, you can see little spaces between the warp and weft and the weft likes to slide a bit since the weave is not balanced. Nevertheless, a good test of what I can get away with!


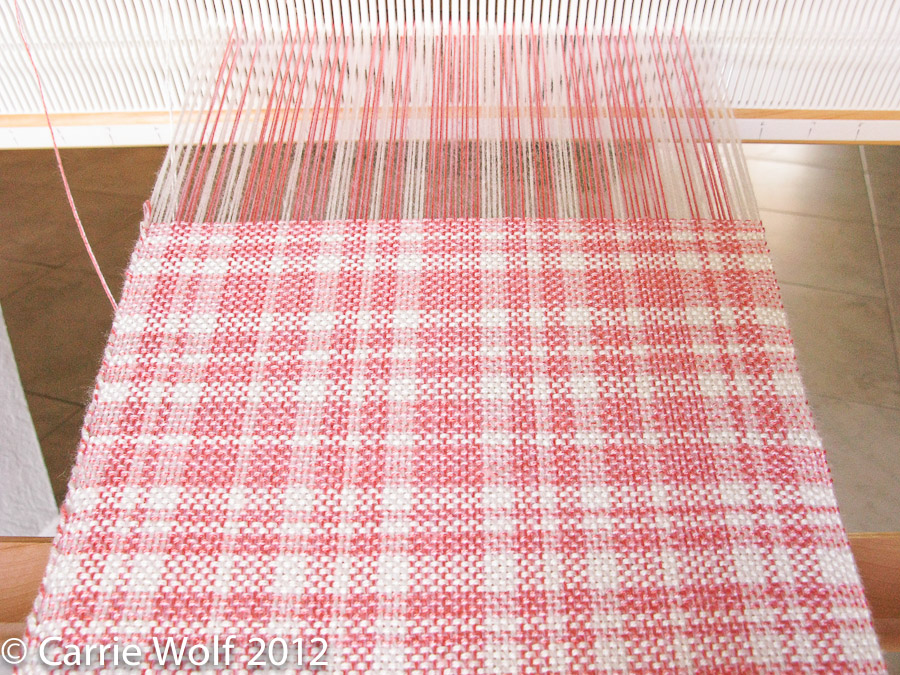
Today is another perfect day for weaving. I have the windows and doors all open since the morning is so cool and am weaving in the cool breeze. Bliss!
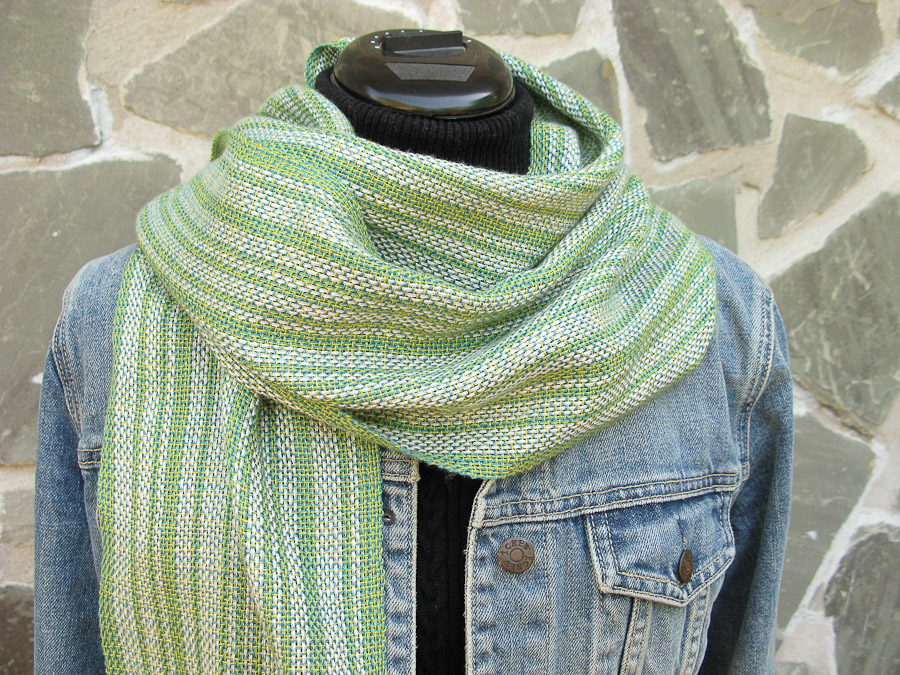
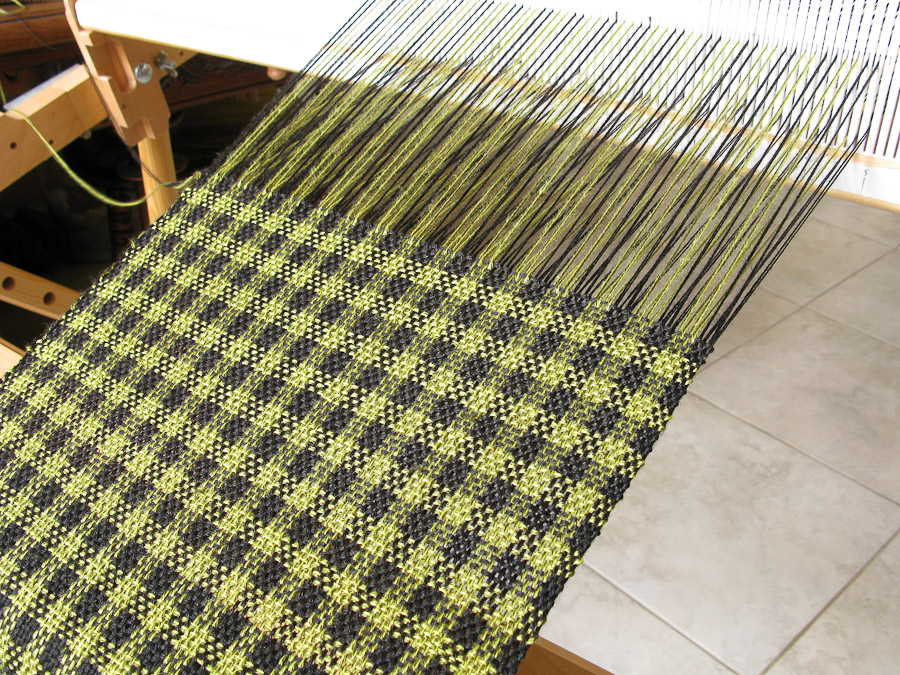
I am loving weaving on my Kromski Harp rigid heddle loom. This is a variant of a houndstooth pattern worked in Valley Yarns 8/2 tencel and 10/2 bamboo, one strand each (2 total) for the warp and weft on a 12 dent heddle.

It is a simple pattern, black in the first 2 slots and holes, green in the next two slots and holes for the warp, then 4 throws of black, then 4 throws green.
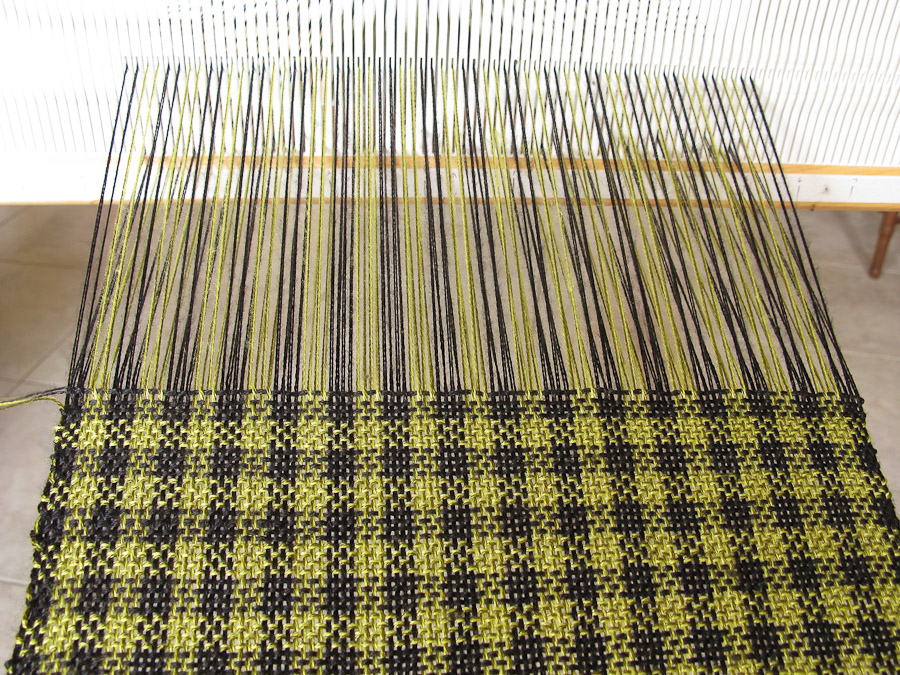
I am using one strand of black of both the Valley Yarn 8/2 tencel and 10/2 bamboo and one strand of Lemongrass 10/2 bamboo and one strand Olive 8/2 tencel. Using the two different shades of green gives it a nice depth.
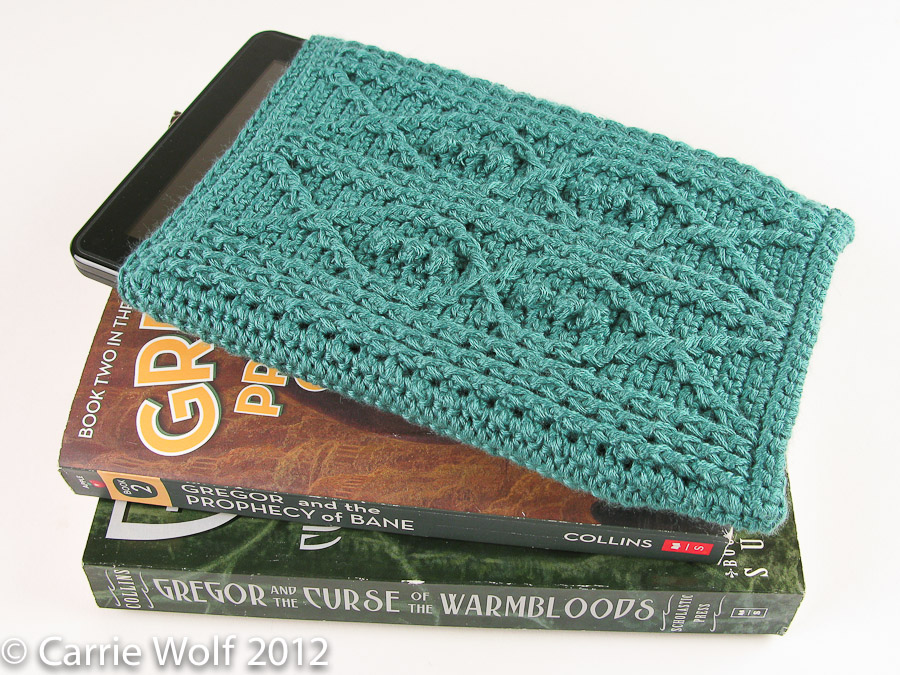
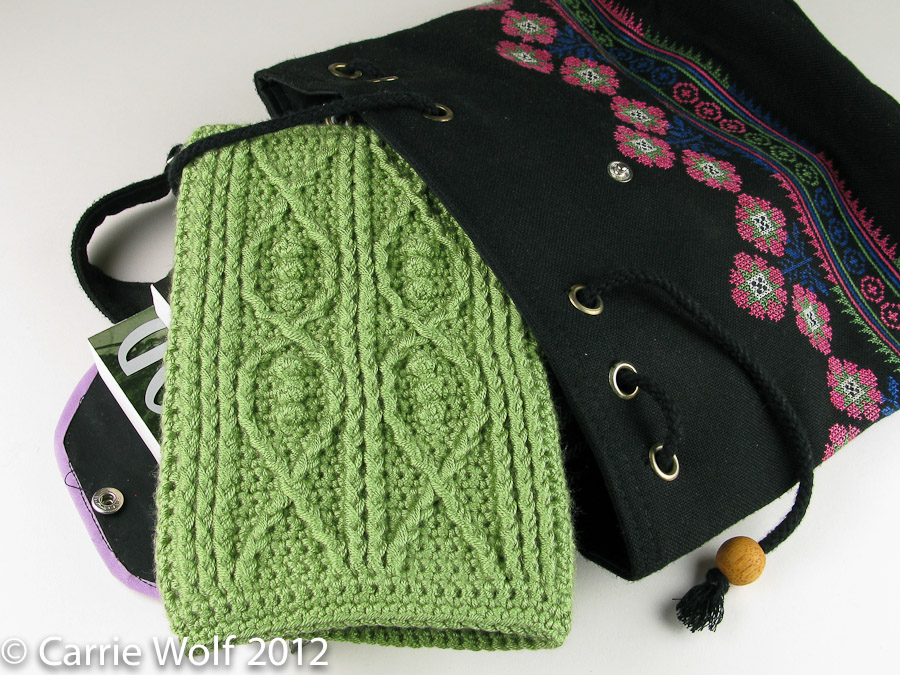
My latest crochet pattern! I love my kindle fire and needed a soft and squishy cover to protect it when I am not using it. I chose to create a cable pattern since the cabling adds an extra layer of padding as compared to normal flat crochet or knit.

You can purchase the pattern in many places:
On Ravelry:
http://www.ravelry.com/patterns/library/kindle-fire-cover-crochet-cable-fish-pattern
On Etsy:
http://www.etsy.com/listing/91906995/crochet-pattern-kindle-fire-cover

If you like crochet cables, I highly recommend this book of patterns, very affordable and tons of patterns to learn:
 |

For all of you Spring brides! Available in my Etsy shop here.
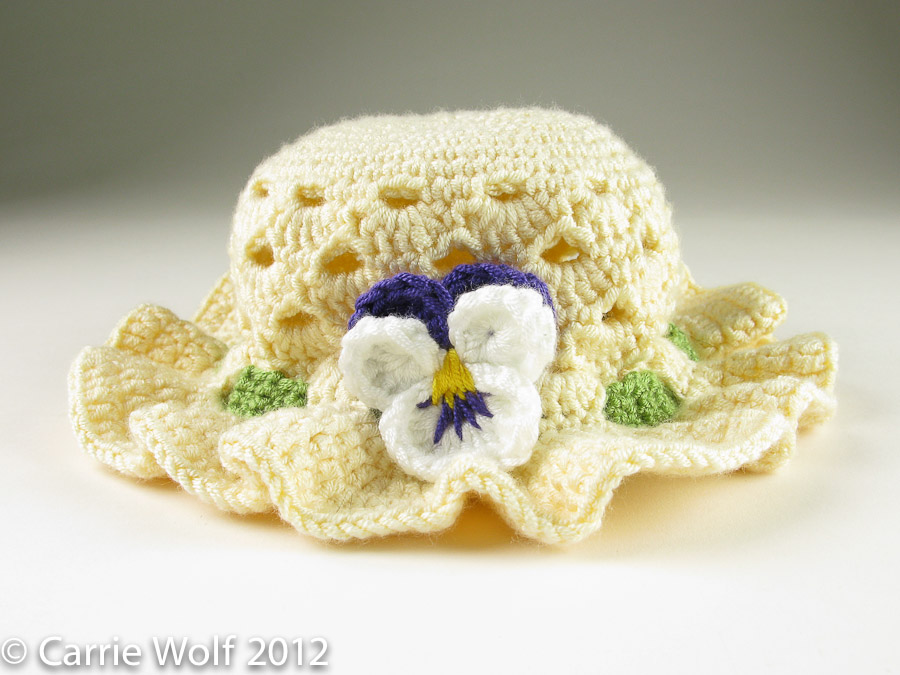
I first made this cute little crochet Easter bonnet about 4 years ago. I was messing around making hats and made this one without writing my pattern down. I also used a pansy flower design that was not my own. So, fast forward to 2012 and I finally have created the pattern using my original pansy flower design!
You can purchase this pattern several places:
On Ravelry:
http://www.ravelry.com/patterns/library/crochet-pansy-easter-bonnet-hat
On Etsy:
http://www.etsy.com/listing/92837841/crochet-pansy-easter-bonnet-toddler-baby

One of my resolutions for 2012 is to make more birds!

We worked entirely in pink and lime green color when we blew glass on Friday. These goblets look perfect together for a wedding goblet set! Available here in our Etsy shop.