Weaving Rep Swedish Ripsmatta January 2016
Sunday, January 3rd, 2016Off to a good weaving start for 2016! This is my 2nd rep weave attempt. I am very happy with this runner so far!
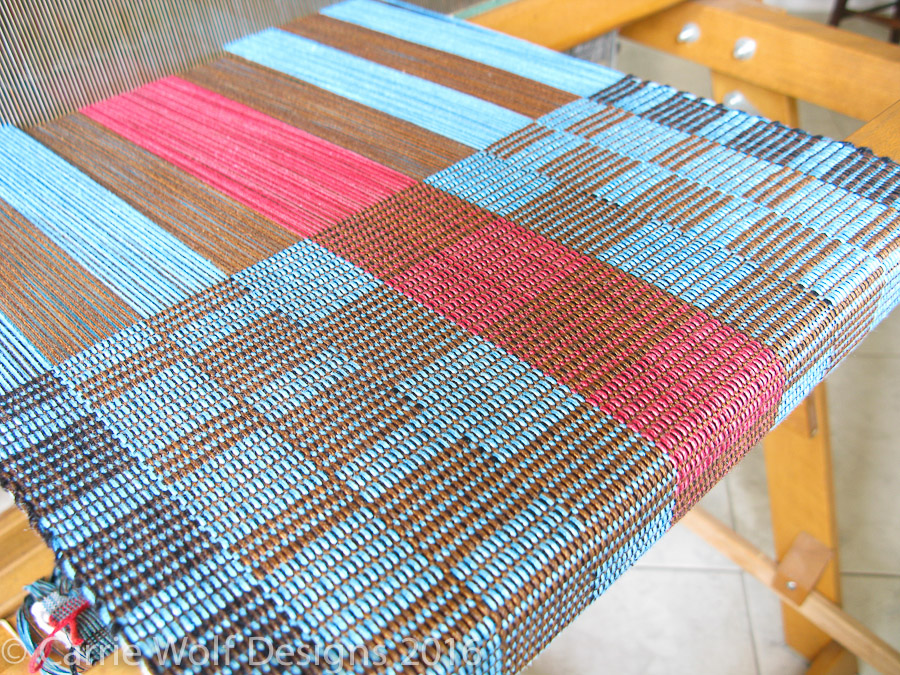
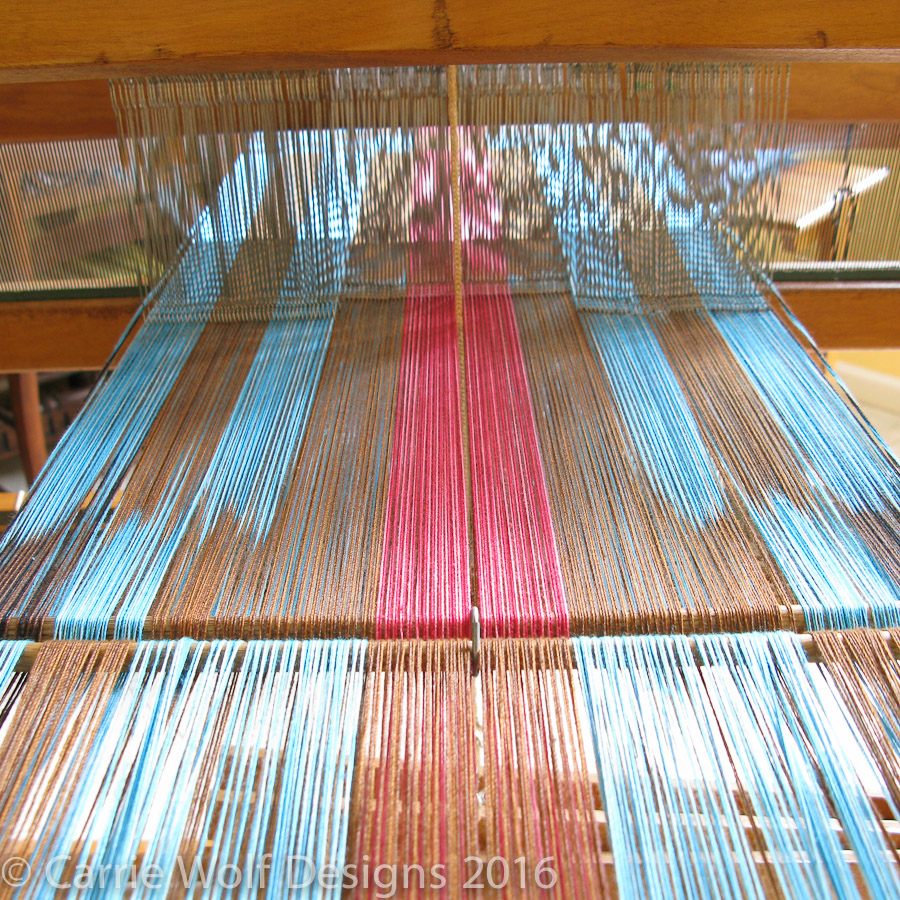
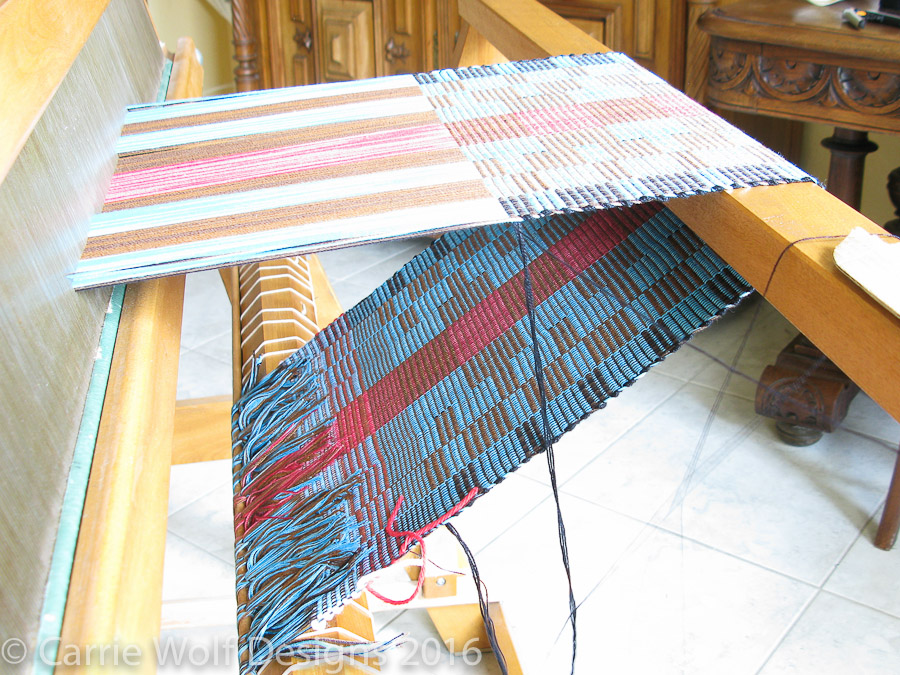

Off to a good weaving start for 2016! This is my 2nd rep weave attempt. I am very happy with this runner so far!
As usual I am testing the limits of my threads to see how fine of a weave I can achieve on my 12 dent heddle. I wish they made finer heddles for rigid heddle looms, at least a 14 dent. I should have doubled up the warp threads on this one, you can see little spaces between the warp and weft and the weft likes to slide a bit since the weave is not balanced. Nevertheless, a good test of what I can get away with!


For all of you Spring brides! Available in my Etsy shop here.
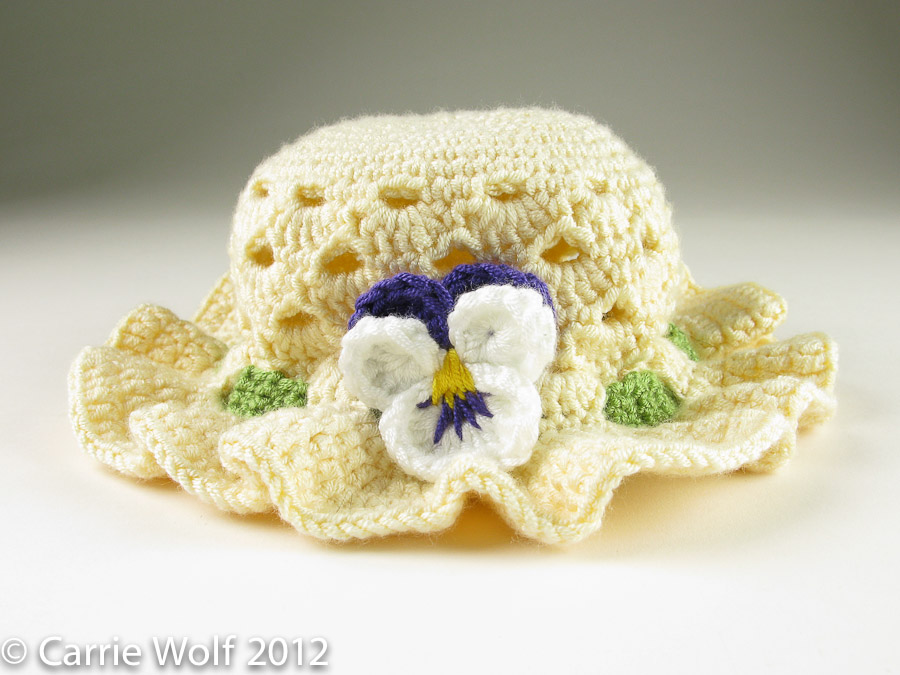
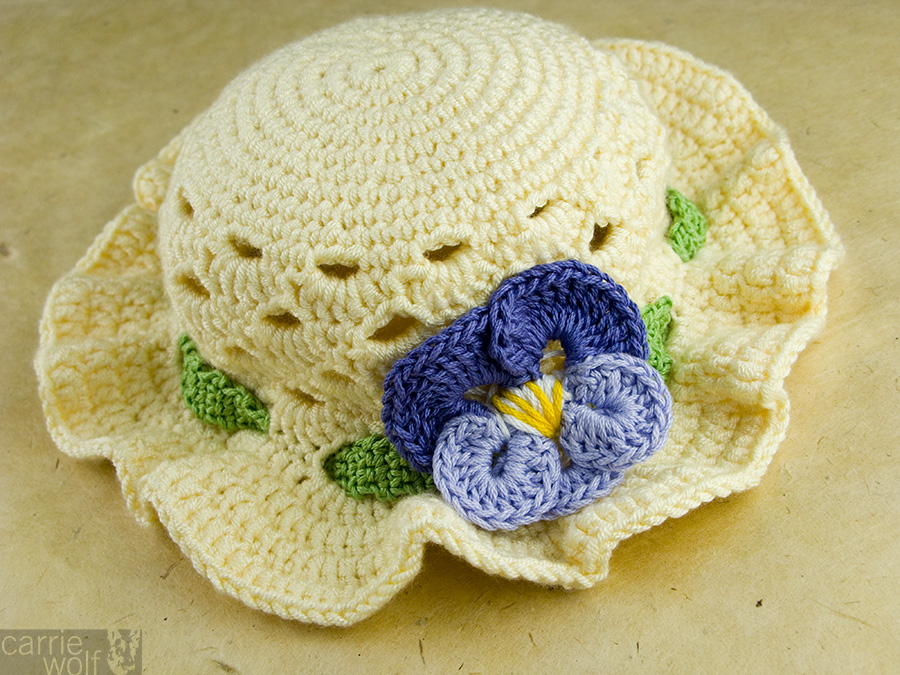
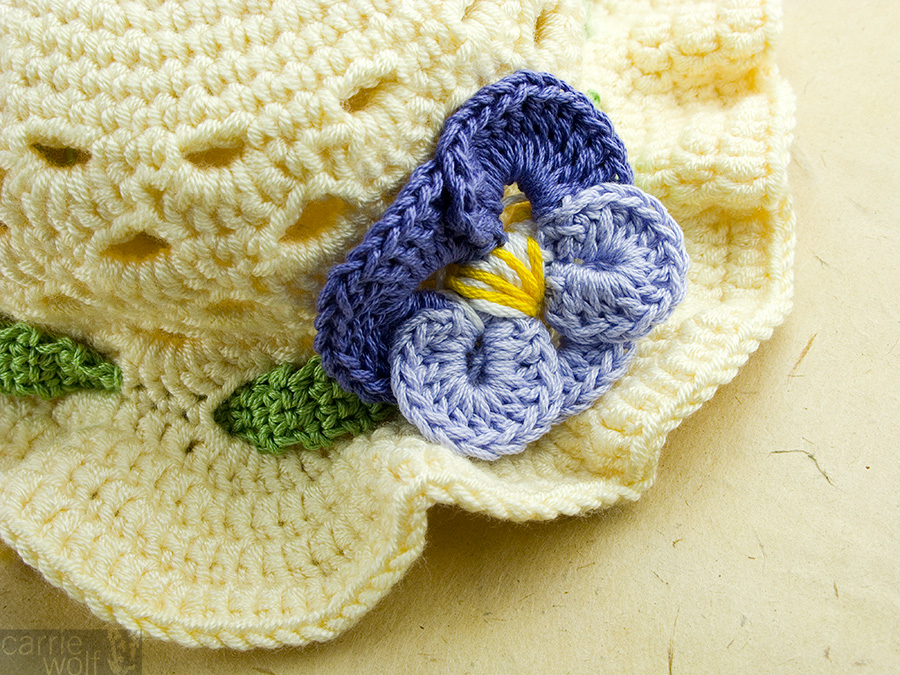
I first made this cute little crochet Easter bonnet about 4 years ago. I was messing around making hats and made this one without writing my pattern down. I also used a pansy flower design that was not my own. So, fast forward to 2012 and I finally have created the pattern using my original pansy flower design!
You can purchase this pattern several places:
On Ravelry:
http://www.ravelry.com/patterns/library/crochet-pansy-easter-bonnet-hat
On Etsy:
http://www.etsy.com/listing/92837841/crochet-pansy-easter-bonnet-toddler-baby

I just finished this awesome slate gray crochet purse from my original pattern and now I need to add those important finishing touches of a zipper and lining. I have created this tutorial to show in detail how I did this! To see more images of purses created with this pattern see my earlier blog post.
Purchase this crochet purse pattern here!

Inserting the zipper:
Purchase a zipper that is an inch or two longer than your opening.
Unzip the zipper and start pinning to the top of the purse. Note how the zipper teeth are just above the last crochet stitch, not below or even. This will help to make sure your crochet does not get caught in the zipper when in use.

Here is a picture looking at it from another angle:

Continue pinning the zipper to the purse all the way around:

A look at the pinning from a some different angles:


Hand or machine sew the zipper in place. I prefer to hand sew, thus the “organic” stitches:

Note how the extra inches of the zipper just float down into the corner of the purse:

Congratulations! You now have a fully functioning zippered purse!
Next up, I will show you how to line the purse.
Lining the purse:
Lay your purse flat and take the following measurements:
1) Height of the front panel – add 1/2 inch to your measurements
2) Width of the front panel – add 1/2 inch to your measurements
3) Height of the gusset (bottom and side piece) If you have an envelope purse, this measurement is not necessary as there is no bottom per se. – add 1/2 inch to your measurements
Height of front panel of this purse = 5 1/2 inches:

Width of front panel of this purse = 6 1/2 inches:

Height of the gusset = 3 inches

Cutting your lining fabric:
Cut 2 pieces for your front and back that are 6 x 7 inches (this is your 5 1/2 height + 1/2 seam allowance x 6 1/2 width + 1/2 in seam allowance)
Cut 1 piece for the gusset that is 3 1/2 x 19 inches (this is your 3 in height + 1/2 seam allowance x the sum of the height of the two front panels and width of the front panel including their seam allowances = 6+6+7

Sewing your lining:
With right sides facing, place one of the front panels centered on the gusset panel as shown below. Place pins 1/2 inch from each side of the front panel to show you where to start and stop sewing.

Sew between the 2 pins.

Pull the front piece back and place the other front piece as described above and pin and sew in place.

Your lining should now look like this:

Now, match up the top of the side of the gusset with the top of the side of one of the front panels and pin. Note how this forms a box shaped corner.

Sew from 1/2 inch from the top down to the corner. Repeat on all 4 sides. Your lining should now look like this:


Test fit your lining by inserting into your purse to make sure it feels like there is more lining than the inside of the purse.
Now, since this particular purse has a gusset and the sides round out and decrease as they get towards the top where the handles attach, you will want to mimic this in the lining. Right now you have a very square lining and a rounded purse. So place some pins about 1/2 inch from the seam angling in a similar angle as the purse sides.

Sew a diagonal line towards the side of the lining. Cut off the excess fabric from both sides.

See how much more like your purse the lining looks now! Next, press a 1/2 inch seam around the top of the lining.

Now place pins in the middle front of both sides of the lining and the purse.

Now insert the lining into the purse and line up the pins and re-pin the middle fronts of the lining to the middle fronts of the purse.

Now pin the lining all the way around the purse.

Now hand or machine sew all the way around the purse.

Voila! A completely finished purse!!!

Here are some other colors I have worked my pattern in:

It has been almost 3 years since I made my first crochet purse out of this great nylon, first mentioned in my blog post here.
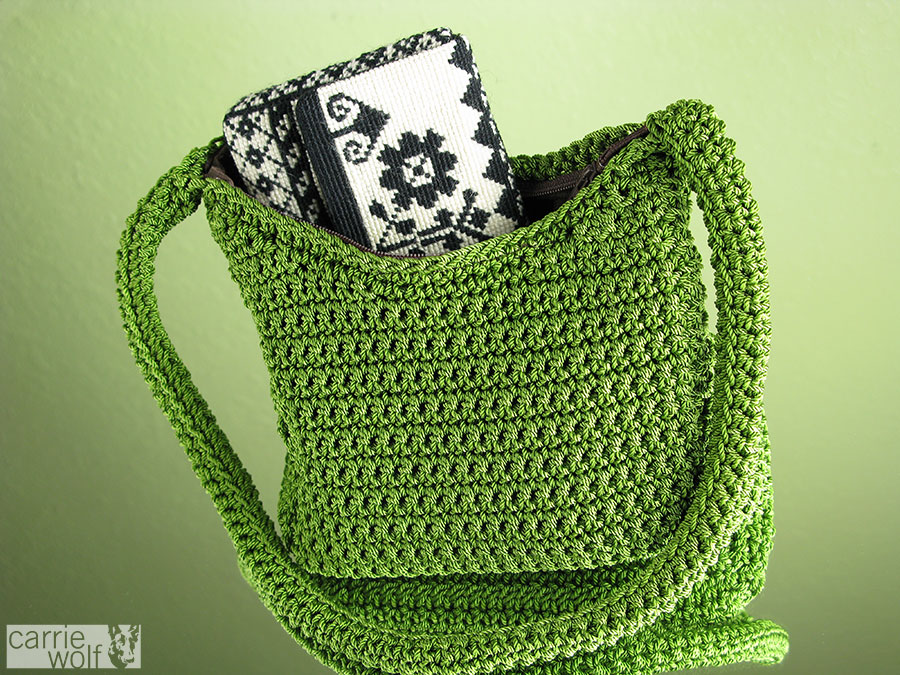
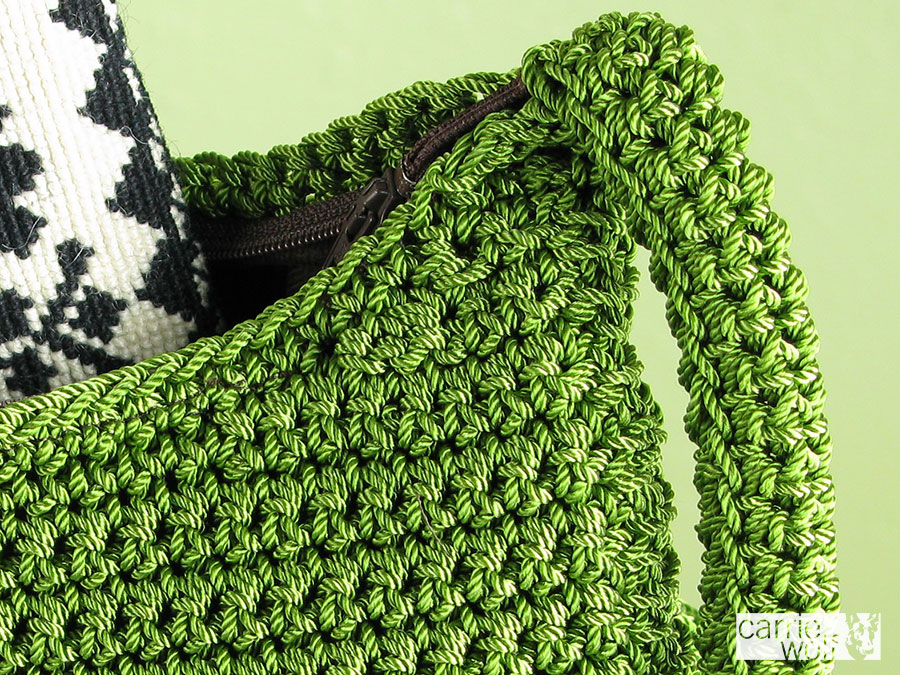
I have finally recreated this purse and created a pattern as well that I have for sale. I am thrilled with this little purse, perfect for those grab and go days. I am not one for large purses, just ones that have room enough for the essentials, wallet, phone and keys. This design has a deceptively large amount of space inside due to the gusseted sides.
Purchase this crochet purse pattern here!


I had an itch to make another needlepoint pincushion. I was sitting looking at the wedding sampler I made for Dean and I (our 8th wedding anniversary is coming up in July-yahoo!) and the corner star motif jumped out at me as the perfect top for a wide flat pincushion. Here is the sampler – I am also making this sampler available in my Etsy shop for the first time made to order:

This sampler still makes me happy just to look at:

Here is the pincushion – available here in my Etsy shop:

The patterns I used in both projects are from this amazing book of charted patterns from my favorite publisher Dover Needlework:
Charted Peasant Designs from Saxon Transylvania
 |
Whenever I need a boost, I pull out this book and drool over all of the amazing patterns from days of old when this type of needlework was done to spice up otherwise plain homemade clothing and home decor. Simply breathtaking!
You can tell that recently we finally had a good rain after months without because the rain lilies are everywhere! I love the resiliency of these amazing wildflowers. Here is my crochet Rain Lily nestled among its real counterparts: Oh and yeah, if you look real close at this first picture, you will see my arch enemy poison ivy mere inches from the flowers I was photographing…..


I am working my Art Nouveau Water Lily design on multiple pieces and mediums. Here are some pics!


This Spring has been an amazing one for our wildflowers. Dean has been taking so many pictures and video that I was inspired to create these crochet versions of two of my favorites – the Mexican Hat and Greenthread. I have some other designs in the works!


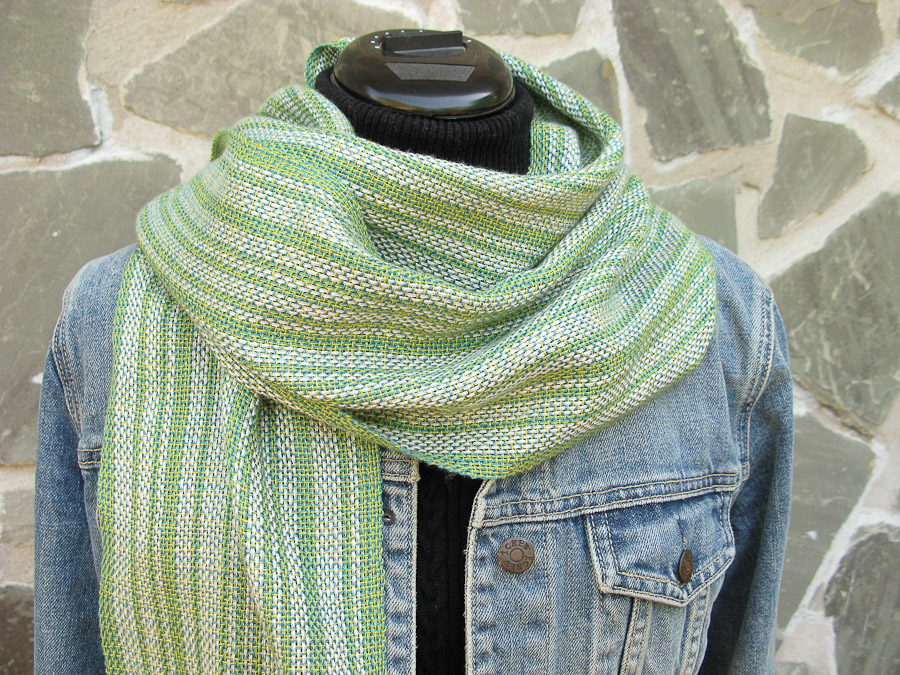
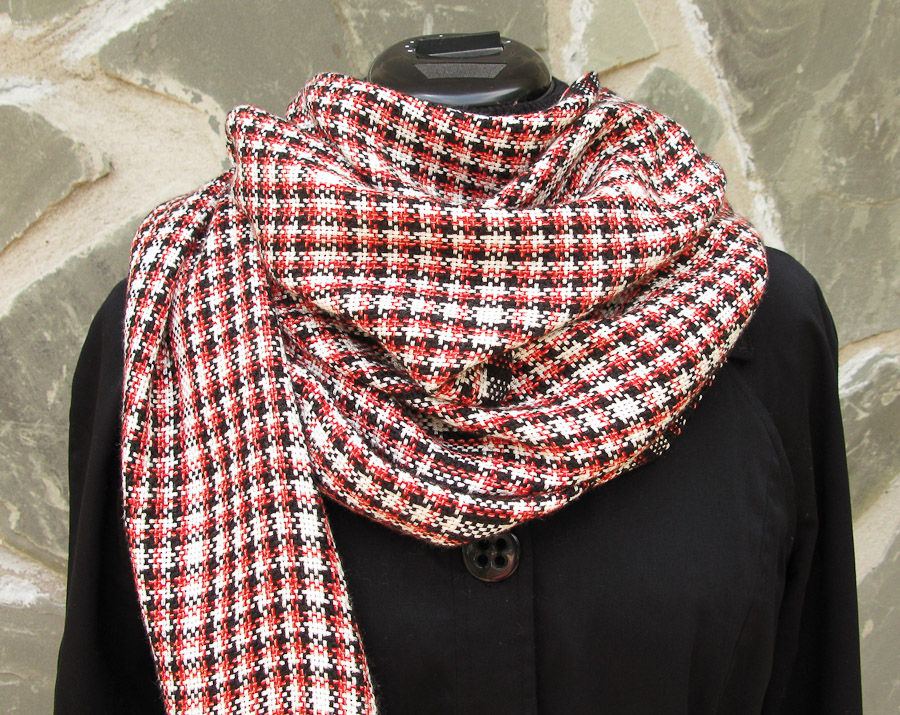
I have been working the past month or so on a bunch of new merino wool crochet scarves – I am really happy how they are turning out!
The patterns for the blue and red scarves are from this awesome crochet pattern book The Complete Book of Crochet Stitch Design, a must have for any level of crocheter. The blue scarf pattern is on page 152 pattern #190 and the red scarf pattern is on page 219 pattern # 290.
The pattern for the brown scarf is from the equally awesome book 220 more Crochet Stitches. Also a must have for your crochet reference library. This pattern is on page 35 pattern #I.71.
 |
 |


About 4 years ago in 2008 I first made this cute little crochet Easter bonnet. I was messing around making hats and made this one without writing my pattern down. I also used a pansy flower design that was not my own. So, fast forward to 2012 and I finally have created the pattern using my original pansy flower design!
As you can see from the comments on this post, I am WAY overdue!
You can purchase this pattern several places:
On Ravelry:
http://www.ravelry.com/patterns/library/crochet-pansy-easter-bonnet-hat
On Etsy:
http://www.etsy.com/listing/92837841/crochet-pansy-easter-bonnet-toddler-baby
On Craftsy:
http://www.craftsy.com/pattern/crocheting/Accessory/Crochet-Pansy-Easter-Bonnet-BabyToddler/5372
Here are pictures of my new design:
Here are the pictures of my original prototype, the hat is the exact same one as above except this hat below does not have my original pansy:
I have completed the pattern for this awesome purse! I am working it up in black and slate gray and they looks amazing. Here is the post of the black purse.
Purchase this crochet purse pattern here!
Would you like to know how I inserted the zipper and lining into this purse? Here is a tutorial on how to do this!
Started this Friday and finished Saturday, crocheted with Dark Olive Hilos La Espiga nylon no.18. I took my favorite leather purse and created a template for me to crochet.